Showing posts with label Double slider card. Show all posts

Thursday, July 14, 2016

Let's Chill and have some fun!

Hello everyone! It’s Juhi, I’m here with my first post for Peek-a-boo designs. I had so much fun playing with the awesome July release. I combined them with some previous releases to create my projects. Now without further ado, over to my cards:


Project 1:
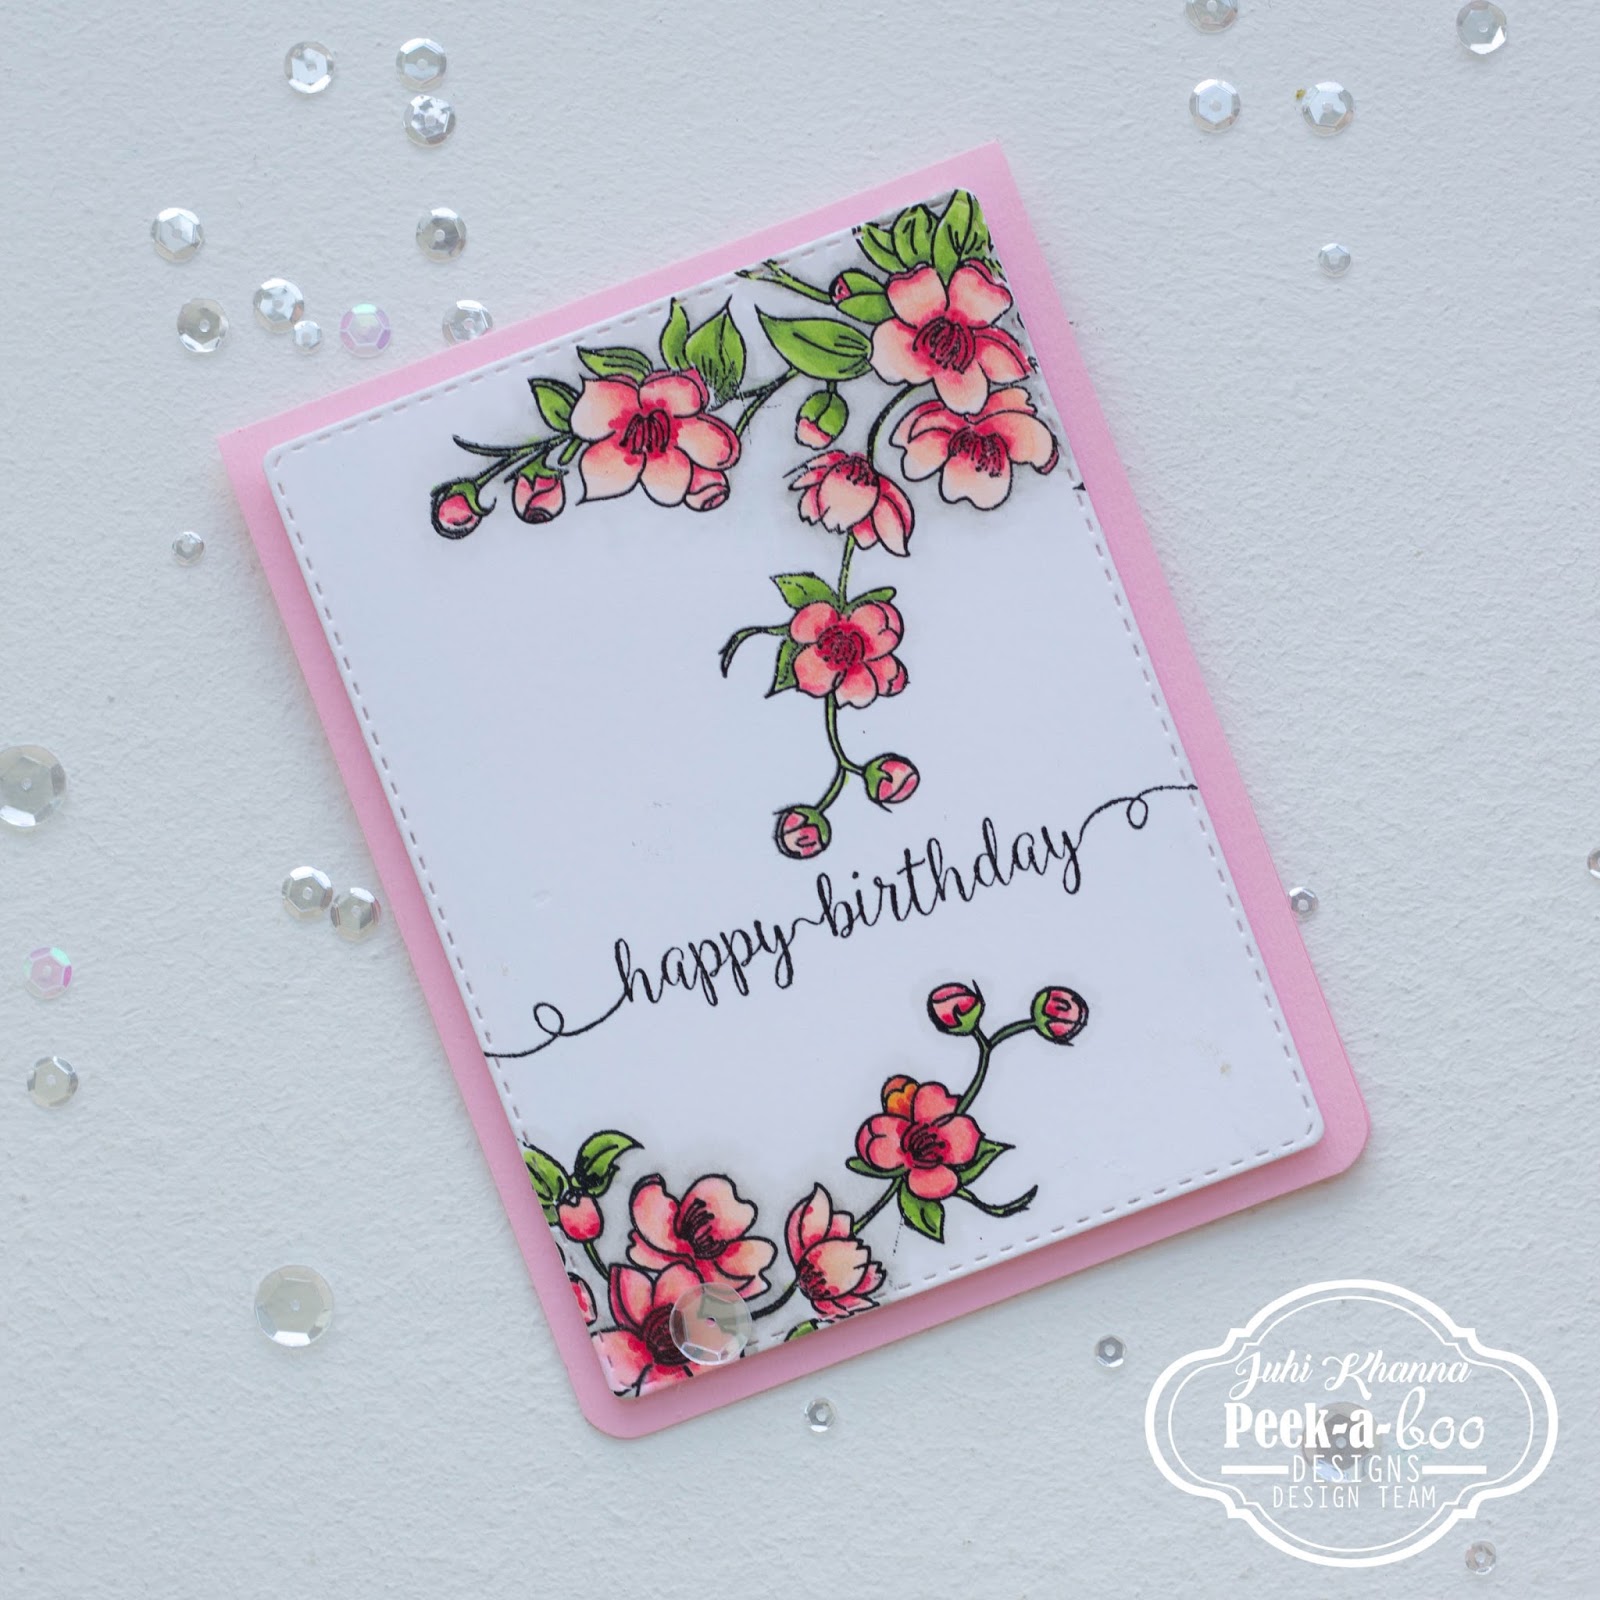
CAS card with Peek-a-boo designs stamps. Images colored with copic markers.
I created a CAS floral birthday card. I’ve used the gorgeous “Humming Blossom” set from the July release. I love floral stamps and this one’s is absolutely gorgeous! The flower branch offers so many possibilities and added to it are the 2 hummingbirds and a beautiful sentiment!
I stamped and heat embossed the images and colored them with Copic markers. Finally die cut and mounted the panel with double sided foam tape.
CAS card with Peek-a-boo designs stamps. Images colored with copic markers.


Project 2:
Fairy double slider card with Peek-a-boo designs stamps
Slider cards are my latest obsession, I just can’t seem to get enough of them. For my second project I’ve made a double slider card. What is a double slider card? You might ask, well a double slider card has 2 sliding elements :)
Fairy double slider card with Peek-a-boo designs stamps
The fairies, which are also from the July release slide around the center oval sentiment. Isn’t it fun! I think the Magical Fairies stamp set it just perfect for making slider cards.
Fairy double slider card with Peek-a-boo designs stamps

Project 3:
Watercolor card with ice-cream candies with peek-a-boo designs stamps
I used an older stamp set for my 3rd and final project. Water coloring is one of my favorite techniques, I created this card by repeatedly stamping the ice-cream image on watercolor paper and loosely watercoloring the images. I was not concerned about going outside the lines, coloring outside the lines creates a beautiful, dreamy look.
Watercolor card with ice-cream candies with peek-a-boo designs stamps

I hope you like my creations, I had a great time making these.What’s more you can get a discount of 10% on all the items. This discount is valid till 31st of July, 2016.


All you have to do is to apply the Discount Coupon code- JUHI_10


Supplies Used:


Wednesday, April 6, 2016

Focus Post - Flowers in a Jar Stamp !!

Hello Girls...!! How you all are doing ??
Today is a very special for me ..guess why...?? ;) 
...
...
...

Its My Birthday.... so u can wish me here or everywhere :)


Ok..jokes apart ..This post of today is my focus post on "Flowers in a Jar Stamp Set" & I have created two very different Projects using the same stamp set ..!!


All of you must have read our April Challenge # 5 Post in which we have to create 2 different creations using the same Stamp/Stamp Set !!


So here are my creations --


First one is " Double Slider Card " -


When you pull the flowers upward ...a small message tab peeps out from the bottom. i have a short video too on how it works (My 1st video) !!


Check the short Video --


Steps how i created this card -
1) For the base I stamped my jar image on the card stock n then masked it off with masking paper to stencil the background with embossing paste .
2)Then used Antique Linen & Vintage a photo DI to distress the whole panel .
3) Using a thin clear plastic sheet I created the slider mechanism and attached two tags on the ends of both sides of that plastic band. 
4) On upper tag I added stamped n colored flowers n one cute honey bee. Also cut a slit over the jar opening so that the tag having flowers can slide inside n outside n looks like that the flowers are attached to the jar !!
5) For below tag I stamped a lovely sentiment from Chirping away stamp set .
6) Also heat emboss the sentiment for front panel using the same flowers in a jar stamp !!


Second Project is a Mixed Media message board -


Steps for this project -
1)For this mixed media board I took PABD textured card stock.stick it on thick card board. Then applied generously a layer of gesso over it. Let it dry !!
2) Then with use of Stencils & texture paste created the stenciled patterns .
3) Sprayed with fireworks shimmer sprays.
4) Then took a wooden pattern paper..cut it in equal sized strips n distressed with vintage photo ink ...& using foam tape adhere all in the centre of layout.
5) For jar...I heat emboss the jar stamp on transparency ..fuzzy cut the jar n using foam tape again placed it on this wooden patterned panel. Before sticking the jar to the base I added the flower stems stamped n colored on card stock inside the jar ...so the jar looks like a little real glass jar.
6) For Finishing touch added twine around the jar with a pearl on it...2 honey bees here n there ...pollen strings & some tiny flowers on the top...& its finish !!

Hope you like my both attempts..!! Enjoy & Happy Crafting !!

Do join us in our on-going monthly challenge here !!

Thanks for stopping by & taking time to comment !!

Hugs--
Vijaylaxmi (Shalu)