Showing posts with label graceful lattice. Show all posts

Friday, August 19, 2016

Peek-Tute Friday with Juhi: Die-cutting with a twist

Hello everyone! It's Juhi. I am so excited to share my first tutorial for Peek-a-boo Designs. The focus of today's tutorial is die-cutting. I will show a fun and easy way to use the tiny negative die cut pieces of the Graceful Lattice die.
Here's the card I created.
I was inspired by this month's challenge theme, which is a color inspiration, you can find the details here.


To make the card:
I started with a piece of watercolor paper painted in colors of the rainbow. I stuck the watercolor panel onto a piece of same sized cardstock with some repositionable glue and ran it through my die cutting machine with the Graceful Lattice Die. The die only cut through the top watercolor paper layer, leaving the bottom cardstock layer intack. Then I peeled off the die-cut watercolor paper leaving the tiny negative pieces stuck on the cardstock panel. I made a start to finish video of how I made this card.
I hope you enjoyed watching the video! This technique will work with most background dies. I would  love for you to have a go at it!

Supplies used:
Graceful Lattice Die

Double Stitched Rounded Rectangle Die

Dream Word Die
Thanks for visiting!

Tuesday, July 19, 2016

JULY INSPIRATION

Hello dear friends, Martha Lucia here sharing with you my first post with Peek-a-boo Designs! I am so happy and proud to be part of you!

Today I have three cards to share with you using the July Release. Oh my God, did you see the entire release? It is amazing and I didn't know where to start but let me show you my first card:


I created this card using the stamp set Layered Dahlias and the Funky Shapes Die Cuts released this month. I combined these beautiful flowers with a sentiment from the stamp set Friends Forever. 


The Layered Dahlias are a beautiful flowers that come in three layers that you can stamp to create a great contrast. In this project I only used two of the layers and one of the flowers. I used the base that I stamped in a light color and the details in dark color. I didn't stamp the outside petals. 

Of the Funky Shapes I only used the stars, that I cut using metal gold sheets and I pasted over the stamped area.

From the Friends Forever stamp set I took the banner Friends that I stamped with VersaFine Onix and covered with clear embossing powder that I melted with the heat tool and fussy cut with my scissors and pasted over the stamped base using zapdots or dimensionals.

My second card is totally different. For this I used other colors and other stamp sets and die cuts.


The base of this card is Whisper White card stock and I sponged the top side of the base with Abandoned Coral Distress Ink. Then I cut a second layer using the Graceful Lattice Die Cut with card stock Early Espresso. I pasted this die cut over the inked base and for decorate the borders I cut a stitched border using the Dual Stitched Rounded Rectangles Die Cut. 


Using the same die cut cut I created a stitched border over a piece of whisper white card stock and I stamped on it the sentiment Thanks a bunch that is included on the stamp set Flower in a Jar using VersaMark and Gold Embossing Powder. I melted the powder with the heat tool. Finally I decorated the left side using the image of the Poppies Bunch stamp released this month. I stamped this on whisper white card stock and colored with distress ink and fussy cut with scissors.

My last card is a Clear and Simple model that I made using a Word - Dream Die and two images of the stamp set Magical Fairies.


I created this card cutting several times the Dream die cut in Very Vanilla card stock and pasted these over the layer of the same color to create the background. Then I stamped individually the fairy and the sentiment over vellum using VersaMark the Blueberry Cheescake WOW Embossing Powder and I pasted these over the decorated layer.


On the photos you are seeing the embossing images a little distressed it is a light effect because this embossing powder is a marbling color but when you have the card in your hands this is simply amazing!

Products Used:


I hope my projects inspiring you to use the new stamps and now I have a special news for you! You can buy all the new releases with a 10% off using my 
discount code MARTHA_10 . So run and don't let the stamps and dies run out of the store!

See you soon!!!


Sunday, July 17, 2016

3 CAS Cards !!

Hi Crafty Bugs...Vijaylaxmi here ...!! Hope you all are enjoying this monsoon... :) 
I am sharing few cards today using some stamps from old release & some stamps & dies from latest release !! 

So without any delay here are what i made ---


First Card

Steps -

1) Took a standard sized CS and using Jennifer McGuire's Floating Die cut Panel Technique cut the panel using Graceful Lattice Die.
2) Then Stamped the flowers from Mandala Stamp set & colored them using Pencil colors.Fuzzy cut all n arranged on the lattice bg !!
3) Stamped the sentiment from Magical Fairies stamp set, matted with a silver glitter strip.
4) Done :)

Supplies used -


Second Card 
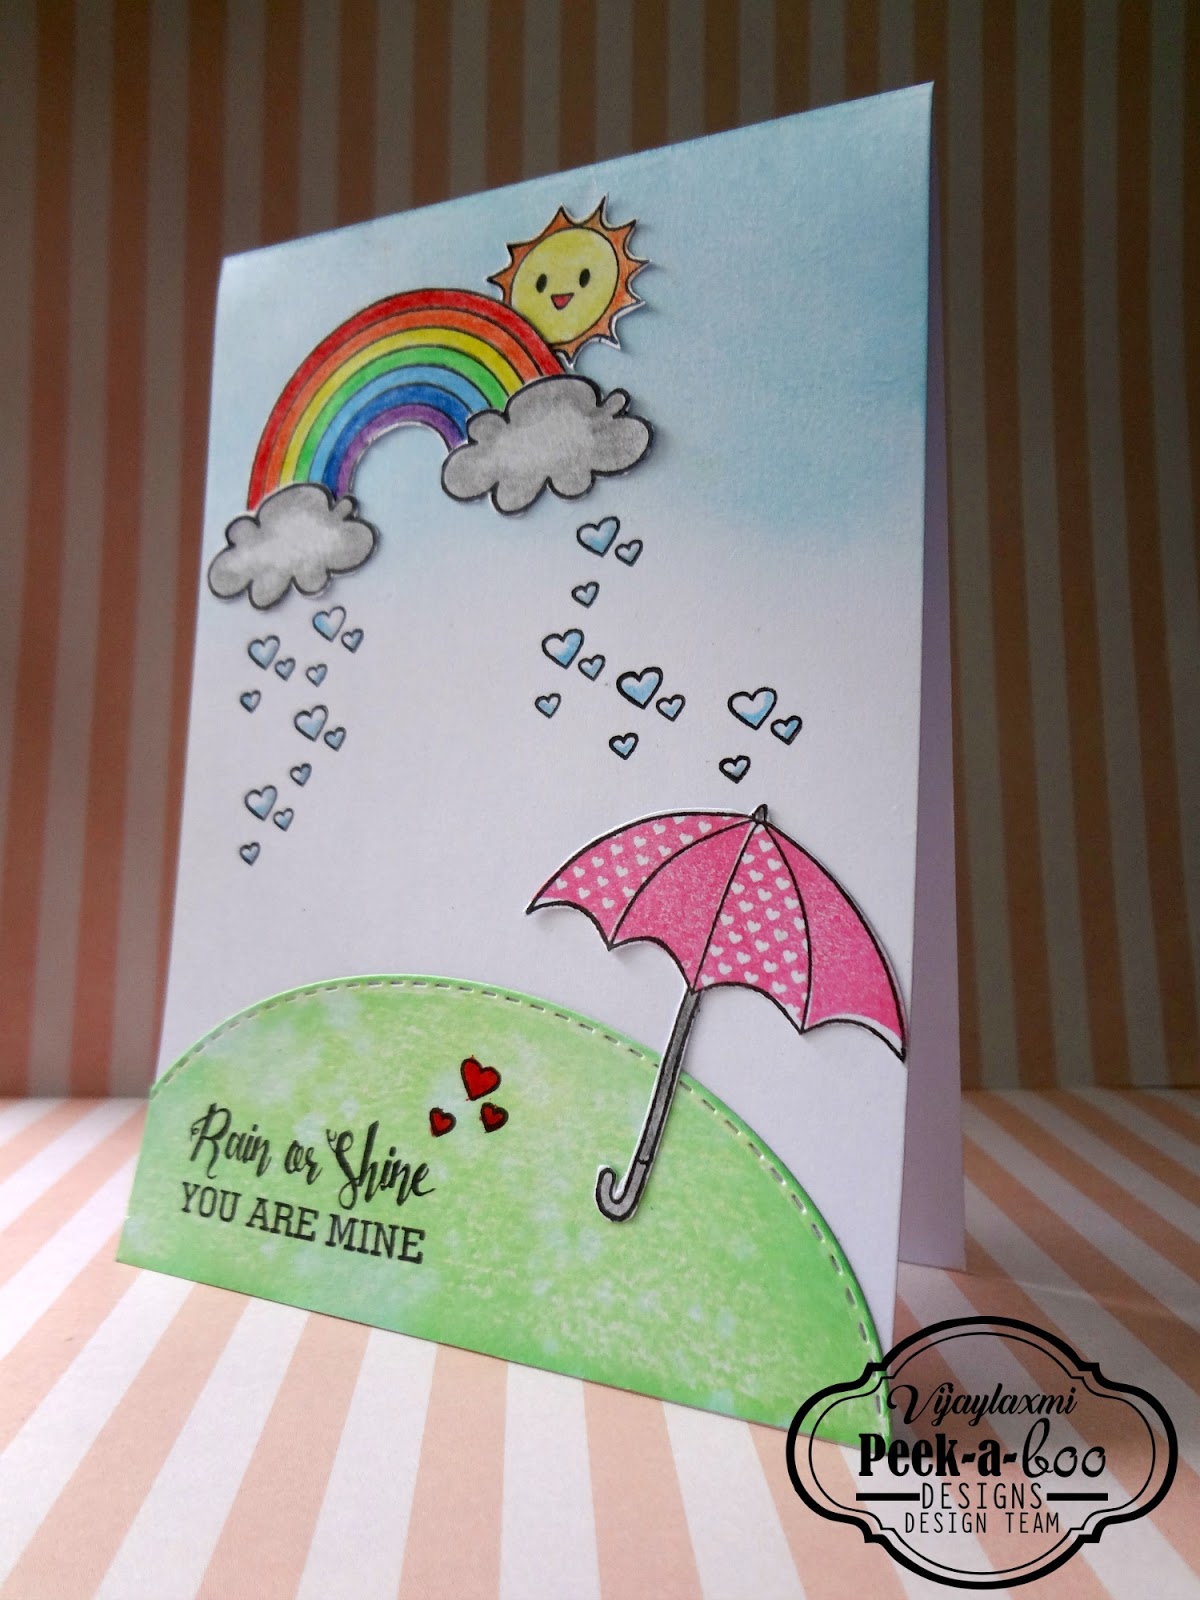
As per the season's demand i created this card :p Yup ...who does not love this rainy season and awesome cloudy weather so inspired by the surroundings i made this one..!! :) 


Steps -

1) Took a standard sized CS.
2) Then Stamped all the elements from Splitter Splatter Stamp set & colored them using Pencil colors.
3) Stamped the sentiment from the same stamp set on a die cut & distressed green panel.
4) Fuzzy cut all images & arranged to create the monsoon scene & yay we are done :)

Supplies Used -


Third Card 

As Teachers Day is also coming in next months so i thought i should start making cards from now to gift all to my Daughters Teachers as i am very slow so i started early .. :p


Steps -

1) Took a standard sized CS in grey color.
2) Then Stamped the monochromatic background using all alpha's from Scripty Alpha's Stamp set & Back to school Stamp set in grey ink.
3) Stamped the Trophy & Sentiment from the same stamp set on a die cut  panel using Dual Stitched Rounded Rectangular Die.
4) colored the image & tied a twine to create more interest  :)

Supplies Used -


All Stamps, Dies, Stencils , Acrylic Blocks & Card stocks are now added to the store so hop on to the store's new website for better shopping experience !!
Enjoy this monsoon with the ongoing discount cum sale ....for discount coupon code please use .....VIJAYLAXMI_10
Hope you are joining us at our July Challenge #8 : Layers !! Do read the rules & guidelines before submitting your lovely entry :)                         Thank you so much for taking time & leaving me love :)                                                          ***   Vijaylaxmi Siyal  ***


Tuesday, July 12, 2016

Using solid stamp images - Tips and tricks

Hello and good evening! ^__^

I'm Halak and and today we'll be discussing solid stamp images.

Out of the three projects that you see in the picture above, I have a pictorial for one of them and written step by step instructions for the other two.

We'll be talking about solid stamp images as we proceed through the tutorial so let's get started!

Project #1

Here are the steps to create this project :

Pictorial

First, I die-cut a lilac oval using the Oval Dual Stitched Die (3rd largest oval) and positioned the stamp and sentiment from the Magical Fairies stamp set on it.

Tip
To ensure even distribution of ink, I always place a 5mm thick foam sheet under my cardstock before stamping.
The black portion that you see here is the 5mm foam sheet.

How to get a perfect impression?
Always always always condition and test your stamps BEFORE you stamp them onto your actual project.

To condition your stamp you can do any ONE out of the following things :

1. Coat the stamp surface in versamark and rub it against the palm of your hand to remove versamark.
Once you remove versamark, the stamp will be ready to use.

2. If it is a solid image and you plan to use it as a silhouette only, then you can stamp the image a couple of times in Ranger Archival Ink (Jet Black).

3. The easiest method is to rub the surface of the stamp with an eraser.

Why to do a test run of the stamp?
Because of two reasons :

1. When you pick up the stamp with your acrylic block, ink it and stamp, you won't know what kind of pressure you will end up exerting on that stamp.
Every stamp is different and has different size dimensions so the pressure you exert differs with each stamp.
When you stamp it in rough once or twice, you will get an idea of how much pressure you need to exert to yield a perfect image.

2. Most clear stamps that are manufactured have a chemical coating on the surface which acts as an ink repellent.
Conditioning the stamp once will ensure that this layer is removed and that the ink is evenly coated throughout the stamp surface.

I always do a trial (stamping in rough) before stamping on my actual project.
Here's what my trial looked like :

As you can see, I exerted less pressure towards the central portion of image and more towards the sentiment which led to ink spreading out (in the word "magic").

So once I realized my mistake, I moved onto my project.
Here's my lilac oval stamped :

Tip
It's a good idea to secure cardstock to the foam sheet with washi tape like I did.
It prevents movement of cardstock and helps avoid ghosting. (Image ghosting is where the paper moves and your hand also moves slightly leading to a double stamped image which looks blurry.)

After this, I did some stenciling around the oval using the Leafy Delight Stencil + distress ink.

Pardon me for this image. Funky lighting kinda makes the color look a tad different but it's the same lilac oval.

After stenciling, I lightly colored the wings with purple watercolor and perfect pearl mix to give the fairy a bit of sparkle.

Next, I took the same stencil and stenciled onto white pre-embossed cardstock.

If you look carefully, you will be able to see the faint dry embossed design onto the cardstock along with the stenciled design.

Once this was done, I die-cut a rectangle from Black Cardstock using the Rounded Rectangle Dual Stitched Die (3rd largest rectangle) and adhered a piece of the Graceful Lattice die-cut in silver cardstock to a corner.

All major things done, I decided to embellish the lilac oval with sequins, fussy-cut leaves from patterned paper and a butterfly from a Martha Stewart paper punch.

Here you can see I also added a few bits of paper tape, a star shaped sticker and black bakers twine to top RHS corner of white cardstock.

The white circle in which the butterfly is adhered is die-cut from the Funky Shapes Die set.

I like to do a rough placement of things before I finally glue them down so that is what you see in the image above.

Once I was happy with the way my project looked, I adhered the elements and the card was complete!

So you see, solid stamp images can be great focals and you can build cool scenes around them using stencils, sequins etc.

Let's check out the second project!

Project #2

Tip
If you don't want to build a scene around the solid stamped image, a fun idea is to decorate it with washi tapes and stickers for a pop of color.

Steps :

1. Die-cut a rectangle from Rounded Rectangle Dual Stitched Die (3rd largest rectangle) and matted it onto card base.

2. Die-cut a piece of patterned paper using the same rectangle die, (3rd largest rectangle) gave it an abstract cut and adhered to white rectangle.
At this stage I added bits of washi tape to top RHS of white rectangle.

3. Die-cut oval from Oval Dual Stitched Die (smallest oval) stamped fairy from the Magical Fairies stamp set, added washi tape + stickers, offset the oval slightly and adhered.

4. Finally, added sentiment sticker to bottom RHS.

That's how I did it!

We have one more fun way of using solid stamps! ^__^
After the build-a-scene idea (Project #1) and using solid stamps as-is with colorful tapes + stickers (Project #2), a third option is that you can pair it up with other solid images!

You can check out the third option here :

Project #3

Steps :

1. I used the 2nd largest solid circle stamp from the Solid Shapes stamp set and stamped it randomly using distress inks onto white cardstock.

2. Stamped fairy and sentiment from Magical Fairies stamp set.

3. Adhered stickers and sequins.

4. Matted onto polka dot pattern paper (the stitched border square was achieved by partial die-cutting the Rounded Rectangle Dual Stitched Die) which was finally adhered to Rose Gold card base. (Peek-a-boo Designs sell that stunning Rose Gold cardstock that you see here so if you liked it, you might wanna check it out! ^__^

To shop, click >>>> HERE

This brings us to an end of the post but before I sign off, here's the list of Peek-a-boo Designs products that I used :  

Till next time dear friends, thank you so much for stopping by!


Posted via Blogaway