Showing posts with label tutorial. Show all posts

Friday, January 5, 2018

Peek-a-Boo Designs January Challenge!

Hey there..!
This is Ruchi from Ruchi's Crafeteria..! 
Happy 2018! :) It's absolutely crazy how fast that year flew by.  I guess it helps when you have fun things to do like playing along with creative people on a fun challenge blog, right? Well, I hope you have enjoyed our challenges in 2017 and will continue to join us for fun new inspiration this year as well. :)
Have you checked out our fantastic January Release...If not then you can check all new crafty products  HERE  :)

So Here is our January Challenge and the Challenge Theme is "ANYTHING GOES!" 
 Isn't it so simple?? You can participate with any of your crafty project like Card, Mixed Media, Layouts or any other creative one. :)


Here are the General Rules : 
  • Be a follower of our blog.
  • Use any product to make your project. Get extra points If you use Peek-a-boo Designs Products.
  • Create a new project for the challenge. No back links please.
  • Altered art, ATCs, cards, scrapbook pages, or any other craft projects are acceptable as long as they adhere to the month’s challenge.
  • You may enter as many projects as you like based on theme.
  • Please link to the exact post on your blog - not the home page URL of your blog - using the inlinkz icon at the bottom of the challenge.
  • You MUST mention our blog in your post AND link back to our blog or your entry will not be counted.
  • You may enter a card, a page layout, an altered item, a mixed media item, a mini album.. anything that fits the challenge, unless the challenge states that a specific type of project must be created.
  • Please, no 100% digital projects. A part of the project can be digital. No restriction on the number of challenges you can take part in - As long as your project matches our challenge, you may "pile on" the other challenges to your heart's content. 
  • We will accept a maximum of three entries per person. Please add -2 and -3 next to your name for subsequent entries. A Winner will be chosen on their merits so submit your most creative projects. And that's all there is to it!
  • International Crafters are welcome to participate in our challenges but their prizes would only be sent to an Indian address due to high shipping cost or the International Crafters could bear shipping cost. 
  • Winners  receive Rs. 500 Gift voucher each, which is redeemable at our site www.thepeekaboodesigns.com   
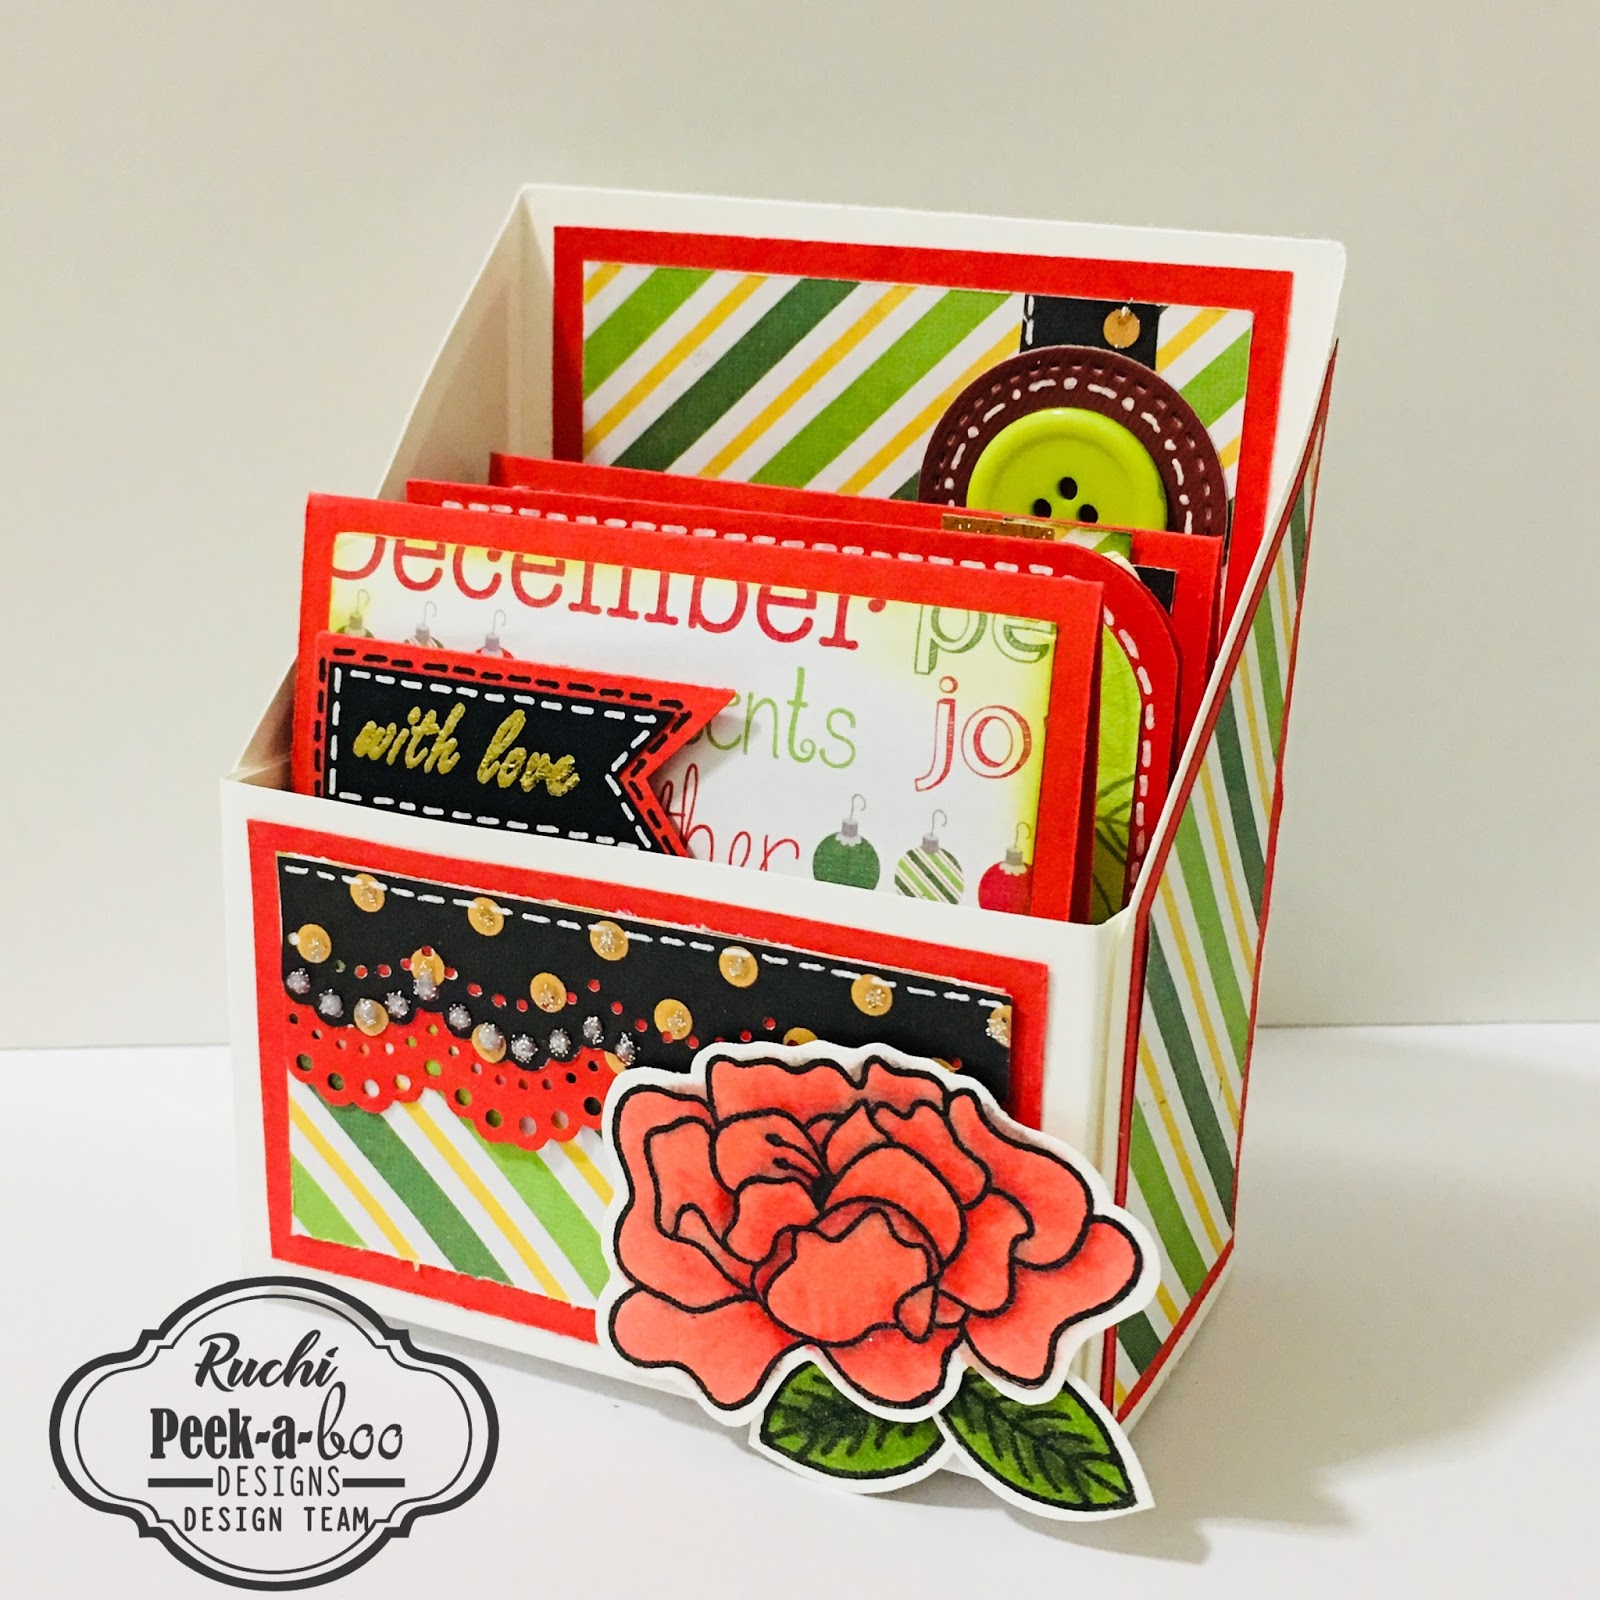
Here is my take for this challenge. I've made a greeting card. I've used my own designed stamp 'Floral Zen' from January release. :) Super happy to use my designed one for this first challenge of year 2018!! :)
Here it is...


It's a One Layer Card and I've chosen pink cardstock for that. I first stamped this floral in the middle of my cardstock then heat embossed with gold. I stamped and heat embossed again this image partly here n there for completing my background. Water colored them using Zig Markers. Used my color pencils for giving it a finishing touch. 
Here are some closeups..


I've created a video too about all the coloring of this card. Here it is...


Here is the pic of my designed stamp set which I've used for creating this card..


You can shop all the products HERE 

Hope you like my crafty work today. Now waiting for your beautiful creations. Don't forget to participate. Thanks for stopping by! :)
Happy Crafting!
Ruchi..

You can submit your entries here..


Thursday, December 21, 2017

Crafting with Preeti D.- Part 5

Hello Dear Crafty Friends!

Hope you are keeping toasty warm in this chilly weather & enjoying family time :)
Since, it is the blessed holiday season, I'd like to wish everyone a 
Merry Christmas and a Happy New Year, well in advance, from all of us here at PABD. 
May God Bless you and yours

For today, I've made 4 Mixed Media Tags, in the Shabby Chic Style, for the holiday season
And there is a photo tutorial as well if you'd like to create something similar :)

**Photo Heavy Post**

Here are a few photos of the tags:


Mixed Media Tag 1:


Mixed Media Tag 2:


Mixed Media Tag 3:


Mixed Media Tag 4:


Process (Photo Tutorial):

Please CLICK HERE to view the short video with 
step-wise photos

1. 

2. 


5. Used PABD Stamps: Ampersand, Madhubani & With Love Daisy


7. 


9. 

10. 

11.

12.

13. Used PABD washi tapes- blue blossom, lovey dovey & prickly cuteness

PABD Supplies Used:


That’s all for today :) 

In case, you'd like to see more of my projects using the beautiful PABD supplies, 
you can check out my first 4 posts---> Part 1, Part 2Part 3 & Part 4

Remember, all the PABD supplies can be bought from the online store here

Hope you have a pleasant week ahead. 

Thanks a lot for your precious time :) 
Stay Blessed!

Saturday, December 16, 2017

Ruchi's Crafeteria-Tutorial - Note Cards with Card Holder!


Hey There..!
This is Ruchi from Ruchi's Crafeteria..! 
Today I'm sharing an article about some Note Cards with a Card Holder which I've created using PABD ( Peek-a-Boo Designs ) new release. You can check all the new products HERE & HERE

Here is the pic of my project...


Christmas is all around so I chose some Christmas colors for my project. I have step by step procedure and one fun video too. But before that enjoy all the pics..


This cute green button is from my stash and that maroon circle behind the button has created using Circle Die form PABD. 


These Note Cards are 3"x3" in size. Used CS, PPs, embellishments, washi tape n many more materials for creating them. :) 
Here are individual pic of all three note cards..


I've used PABD- Colorful Polka washi tape in the first note card and sentiment is from PABD- Veined Daisy stamp set. In the second green card, created my own background using big n small leaves from PABD- Pretty Roses stamp set along with Memento inks. Sentiment is from same stamp set and heat embossed in white. In the third card used pattern paper and added this sequin flower. Sentiment is heat embossed in gold n again from PABD- Pretty Roses stamp set.

A close up pic of this flower which is from PABD- Pretty Roses stamp set. Colored it using Altenew Markers and added that shine using Wink of Stella. 


And now it's tutorial time! Here are the pics of all step by step procedure. I'm explaining all the steps too with every pic..

Step 1- Take a cardstock measuring  8"x7-1/4" I've chosen Neenah Bright White cardstock.


Step 2- Score at 2" n 4" using your score board at the length of 8"


 Step 3- Score at 2" at the length of 7-1/4" and flip the Cardstock and again score at 2"

 Step 4- Now make a mark at 2" on the top of the cardstock both the sides and make mark diagonally.


Step 5- Cut those mark lines and make 2" mark on the both side of your score lines horizontally. You have to make total 4 marks and cut it out.


 Step 6- Look at the pic. It's all about the mesurements for decorating your Card Holder. First 2 pieces are for sides. Third piece measuring 1-3/4"x3" is for yor card holder base and the last big piece is for  inside decoration.

Step 7- Take your choice of Cardstock measuring 3"x3" for your Note Cards and PPs are in 2-3/4" x 2-3/4" in size.

Now enjoy the video which is all about craeting and assembling this project. You can check the video HERE

                         Here are all the PABD Products which I've used creating my projects..


You can shop all the products HERE
Our current challenge is going on. Theme is 'Anything but Card'. You can find more details about challenge HERE
Hope you like my crafty work today. I'll come up with more fun projects soon. Thanks for stopping by! 
Happy Crafting!
Ruchi..