Showing posts with label #Pabd stamps and dies. Show all posts

Friday, January 26, 2018

Crafting with Preeti D.- Part 8


Hello Dear Crafty Friends!

First of all, 
All of us here at Peek-a-boo Designs want to wish you a HAPPY REPUBLIC DAY!!! 

And PABD has a SUPER SPECIAL SALE for you to celebrate this great occasion!
So let the festivities and crafty shopping begin!!
You can visit the online store HERE and indulge in all the wonderful goodies 
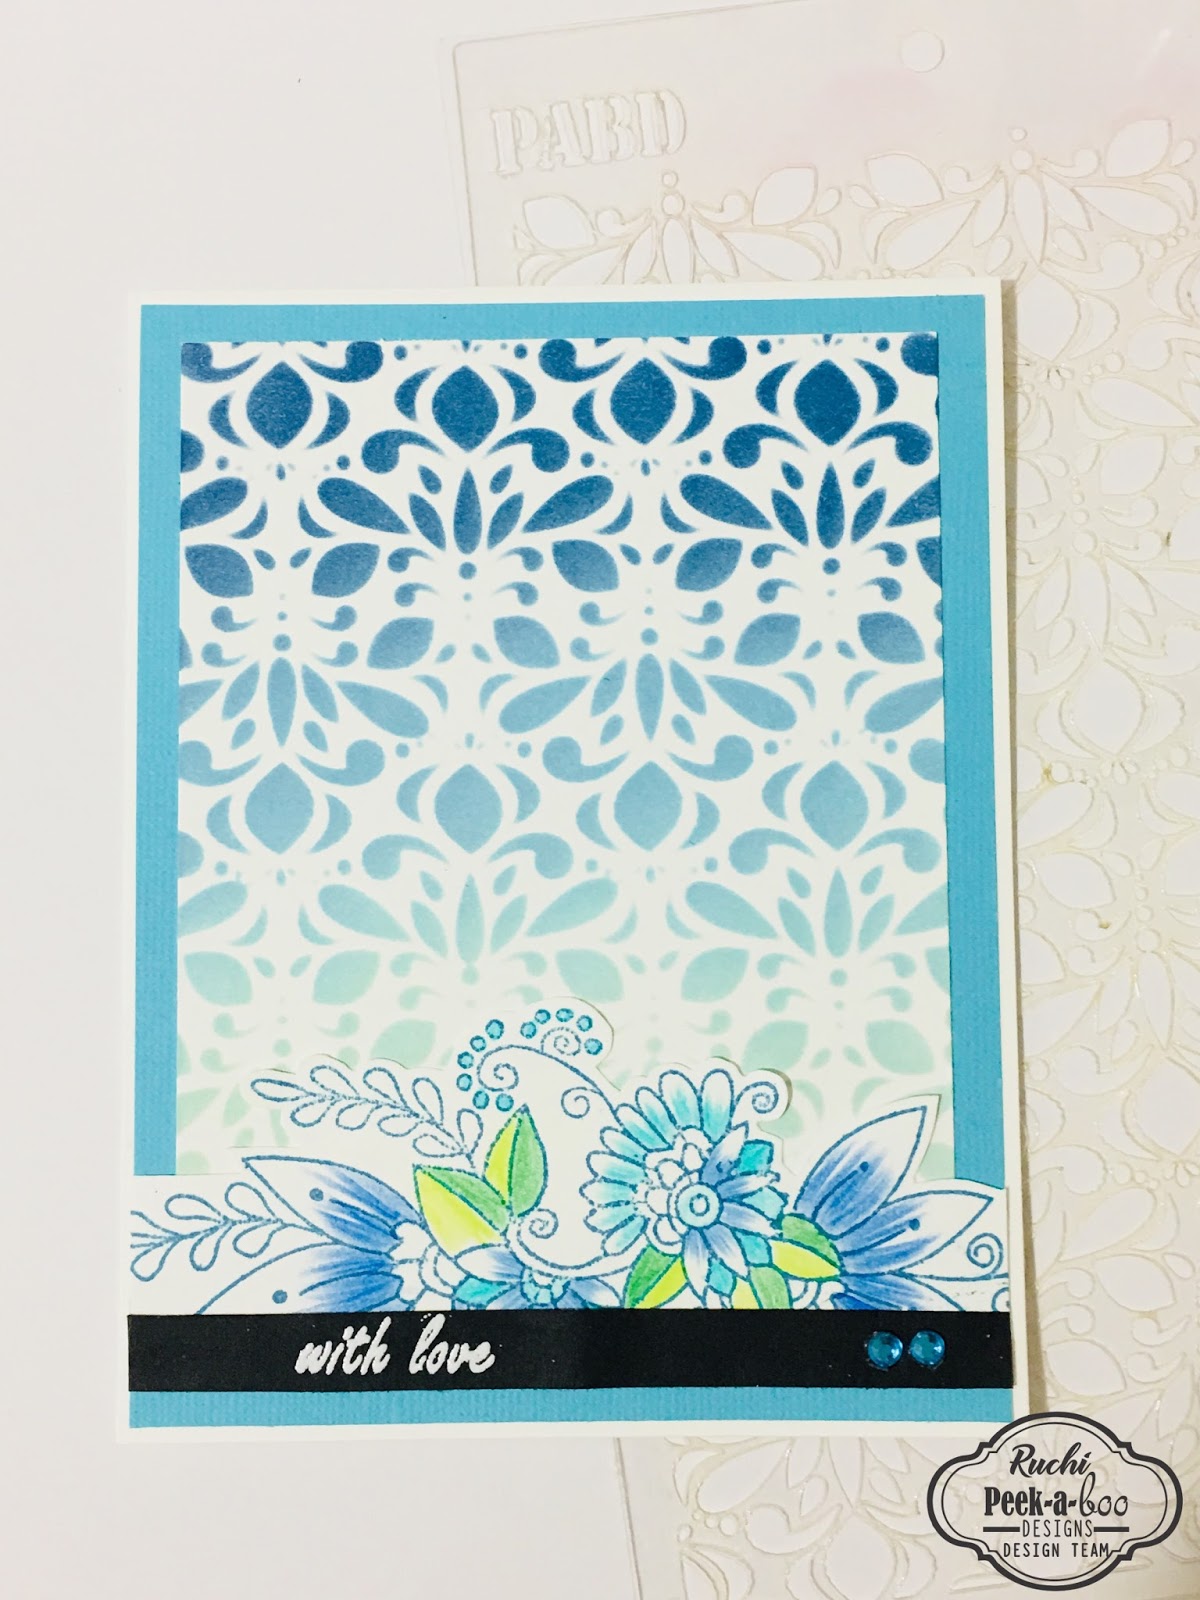
(there is a wide variety of beautiful dies, stamps, stencils, washi tapes and enamel dots)


Today, is my last post for PABD for this term.
 I'm very grateful to Vidushi and all my wonderful, kind and uber talented team mates for a great crafty experience. I really enjoyed working with the beautiful supplies and I really hope you liked the projects/ideas I tried to bring you during my DT tenure.  

For today, I have made 3 Mixed Media Art Journal Pages for you. So let's get started.

1. Mixed Media Art Journal Page- Celebrate 


Close-up Photos:


2. Mixed Media Art Journal Page- Cherish


Close-up Photos:


3. Mixed Media Art Journal Page- Memories


Close-up Photos:


General Process Used for Art Journalling:
(The intent was to build multiple layers with stamps, stencils, die cuts and washi tapes without making the journal pages too bulky)

1. Prepared the base with white gesso 
2. For texture, applied modelling paste through different PABD stencils 
3. Once the paste was dry, added colors using acrylic paints, sprays and inks. Created drips and movement by spraying on water 
4. Added background stamping with archival ink using PABD stamps
5. Added die cuts (colored using inks and sprays). These were die cut from various PABD dies
6. To further build the background, did background stenciling with PABD stencils & archival inks
7. A few strips of PABD washi tapes were added to the compositions for interest. Also, added some thread and a few embellishments like stars in one of the pages
8. Did some doodling & journalling with a black pen
9. In the end, created splatter with ink and water down white gesso 

Peek-a-boo Designs Supplies Used:


In case, you'd like to see more of my projects using the beautiful PABD supplies, 
you can check out my first 7 posts---> Part 1, Part 2, Part 3, Part 4, Part 5Part 6 & Part 7

Remember, all the PABD supplies can be bought from the online store HERE.

Also, please don't forget to check out our Challenge 15 "Anything Goes".
All the details are HERE. There is still time to participate & win lovely crafty goodies!! 


Hope you have a pleasant weekend. 

Thanks a lot for your precious time :) 
Stay Blessed!

Saturday, January 20, 2018

Mix of creativity with Ruchi's Crafeteria!

Hey there!!
This is Ruchi from Ruchi's Crafeteria..! 
I'm back again and today sharing an article about some Greeting Cards and Tags using Peek-a-boo Designs January Release products. You can find all the new release HERE

Here are my projects...

Card 1- 'Sending Lots of Love'


 Procedure:
For this card I've used PABD- Lily Thought stamp set. Stamped these beautiful lilies on watercolor paper using embossing ink and heat embossed them in white. Then water colored  them using Zig Markers. Sentiment is from PABD- Veined Daisy stamp set. Added sequins here n there to finish my card.

Card 2- 'I Thought of You Today'


Procedure:
For this card I've chosen brown Cardstock and created this background using my designed PABD- Damask Delight Stencil along with white ink. After creating my BG, I've stamped these flowers on a white cardstock using PABD- Lily Thought stamp set. colored them using my Fabecastell Watercolor Pencils and fussy cut it. Sentiment is from same stamp set only and arranged & adhered all of them on my card base. Added sequins and glitter for finishing touch.

Card 3- 'Love'


Procedure:
For this card I've used PABD- Polaroid Die to create this black frame. First I've created my card background using PABD- Square and Ractas stencil using green ink. Then adhered this black frame on that. This cute panda image is from PABD- Panda Hugs stamp set. stamped it using black ink and balloons colored using my color pencils. Fussy cut and glued it on the frame. For sentiment used gray piece of cardstock and stamped love in green from PABD- Succulent stamp. That's it! :)

Tags/ Bookmarks- 'Succulent'


Procedure:
For these tags I've used PABD- Dual Stitched Triangles die and the other rectangle shape tag it the inside die cut part of that PABD- Polaroid die. Created the BG using PABD- Succulent stamp set using shades of green inks. These beautiful flower pots and plants are stamped from same stamp set only. I've used masking technique for creating these pots with plants. Coloring done using my Fabercastell Pencils.

Here is a closeup of these tags..


Hope you like my crafty project today and don't forget to participate in our current challenge 'Anything Goes'


Supplied used..
Damask Delight Stencil


Square and Rectas Stencil


You can shop all the products HERE 

Thanks for stopping by! :)
Happy Crafting!

Ruchi..

Saturday, January 13, 2018

Set of Cards with Ruchi's Crafeteria!

Hey there!!
This is Ruchi from Ruchi's Crafeteria..! 
I'm back again and today sharing an article about a Set of Greeting Cards which I've made using my designed stamp 'Floral Zen' and my designed stencil 'Damask' from Peek-a-boo Designs. So much excited!! :)
Here are my cards...


First I've used PABD- Damask Stencil on white cardstock along with various colors of inks for creating my background. Adhered them on their matching color cardstock and put all of them aside. 
After creating my background panels...I've switched to my designed PABD- Floral Zen Stamp set and stamped this flowery image to white cardstock with the matching shades of inks...which can go well with my BG panels. 


Colored a bit all the stamped images using my FaberCastell Pencils. Then I've fussy cut them and adhered on my stenciled background. 
For sentiments..I've used PABD- Pretty Roses and PABD- Floral Cages Stamp sets. I've used black CS for that and heat embossed them in white. cut them in a strips and adhered them on my BGs. 
I've glued all the five BG panels on my card base and added some rhinestones for giving my cards finishing touch. 

Here are individual pics of my cards..


Hope you like my crafty project today and don't forget to participate in our current challenge 'Anything Goes'


Supplies used...


You can shop all the products HERE 

Thanks for stopping by! :)
Happy Crafting!

Ruchi..