Hello and good evening!
I'm Halak and on behalf of our dear DT member Vijaylaxmi, I present to you a beautiful layout created by her.
Before we begin the tutorial, please bear in mind that I had only the images to go by and figure out the process which I did to the best of my abilities through reverse engineering.
So, let's get to it!
Here is a picture showing the basic stuff that you'll be needing for this :

The Peek-a-boo Designs stamp sets used in this project are :
1. Peonies Love
2. It's Plaid Time
3. Blackboard Love
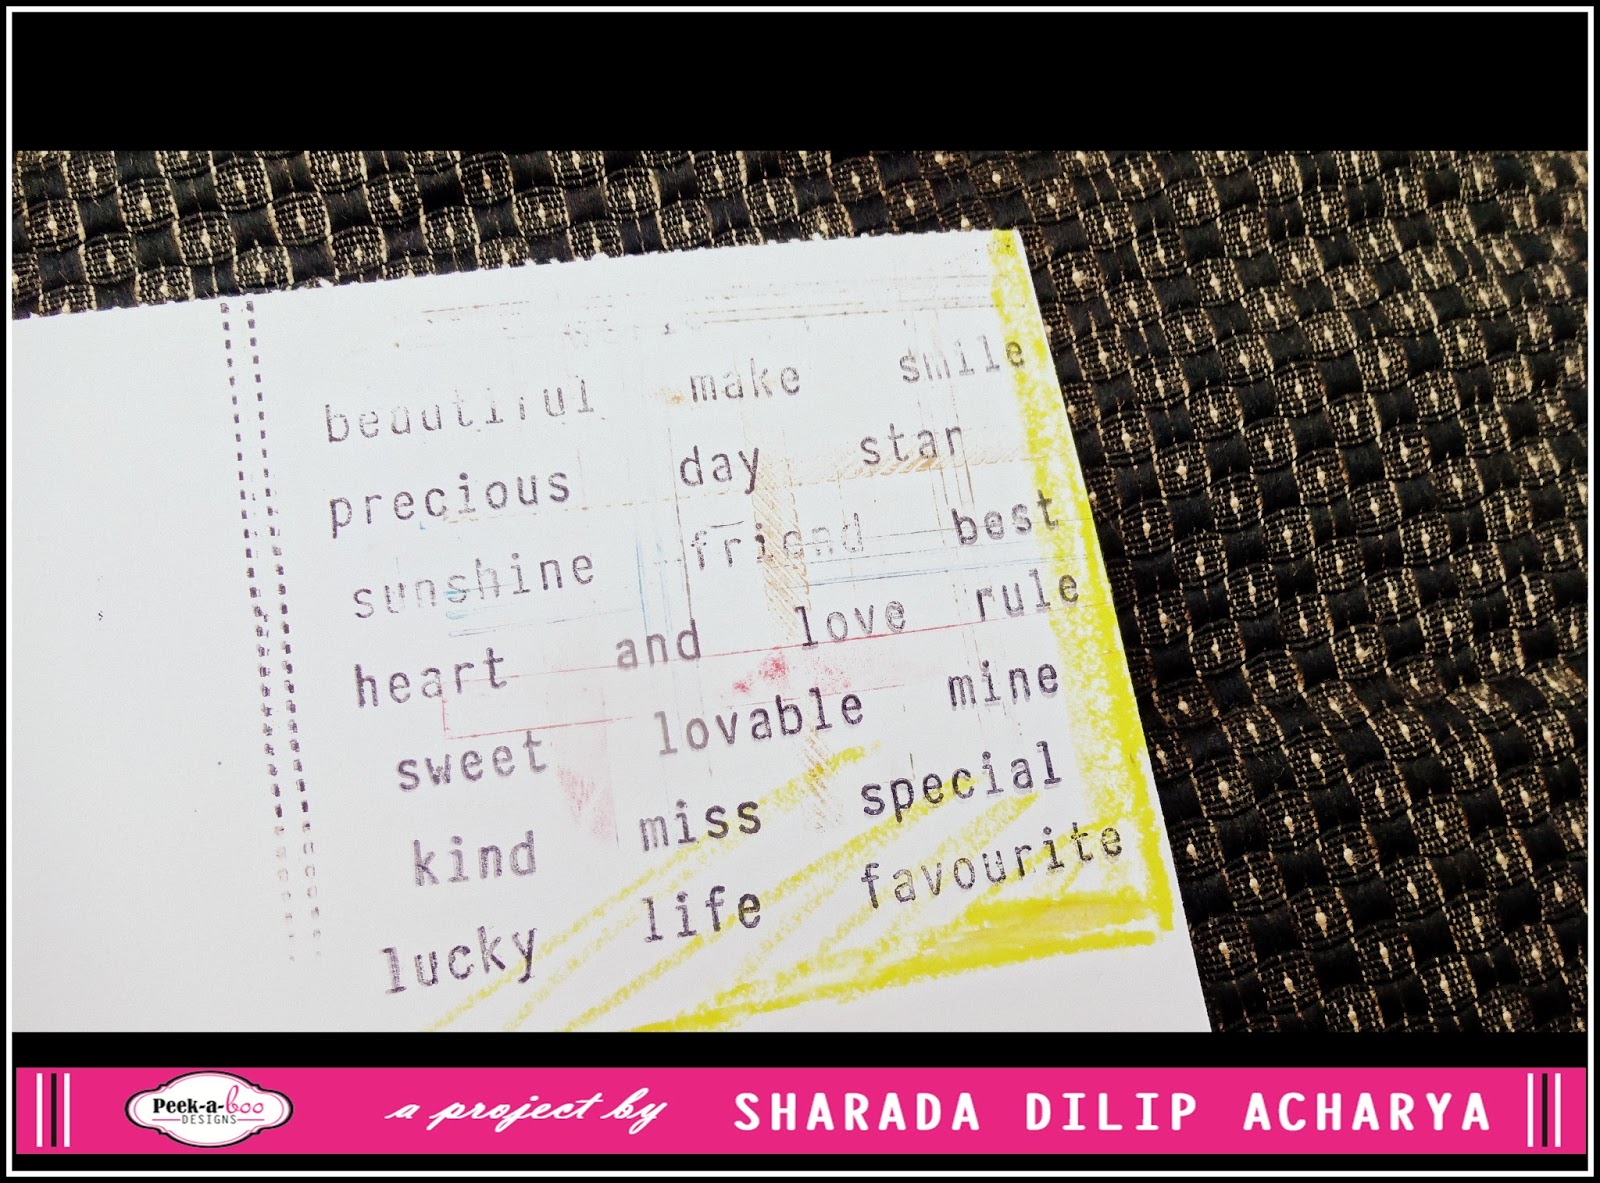
4. Bold You
The material (roughly needed) apart from stamps required for this project is :
1. Cardstock / base
2. Inks (Distress Inks are used here)
3. Gesso (Sakura Gesso used here)
4. A photograph / image (Image used here is from a Tim Holtz pack)
5. A paint brush
6. A small water mister to spray water
7. Pieces of pattern paper
8. Decorative elements, embellishments etc.
Steps :
1. First, take the image and position it where you would like to frame your layout. Once that is determined make a border around the image. (A border of approx 1 cm is made here.)

2. Now remove the photo, take Peonies Love stamp and emboss the flowers in white around the border outline that was made in step 1 and at the right hand side bottom corner of the base.

This is what it it will look like post step two.
3. Once this is done, smoosh some distress inks onto an acetate / transparency, mist it with some water, dip the paint brush and add a little color to the piece.
Also, build up base for the placing of photograph by adding pieces of paper and give it a little texture with some gesso + twine.
The stamping around the edge of the layout is done using It's Plaid Time stamp set.

Do note that when I say twine, it is not exactly one string, it resembles the net made of twine that is usually found in green cloth envelopes.
4. Step three was major and once that's done, you can place your photograph and frame it with an mdf embellishment. Also seen here is a ticket on which a stamp from the Blackboard Love set is used.

5. Take a heart shaped die-cut embellishment.

Both the outline heart and the inner solid heart are taken for this project.
6. Color the hearts to give them an antique look and adhere to project.


Another quote from Blackboard Love set is stamped onto the right hand side corner, a bloom with leaves from Peonies Love set is added to the top left hand side and the entire piece is embellished with flowers, gold colored sequins, mdf pieces and butterflies.
7. Lastly, some more embossing onto black cardstock is done using the set Bold You, and that is adhered to the piece.

And there you have it folks! One super pretty layout that is sure to impress that special someone in your life!
Hope you enjoyed reading and will give it a try!
Till next time! *Hugs*
Posted via Blogaway