Showing posts with label Heat Embossing. Show all posts

Monday, November 27, 2017

Crafting with Preeti D.- Part 3

Hello Dear Crafty Friends!

Hope you had a blessed Thanksgiving and had fun shopping during the Black Friday weekend :)

Today, I have 1 Mixed Media Layout and 2 CAS cards to share with you.

1. Mixed Media Layout: Baby Girl


Here are some close-up photos of the layout:


Process:

1. Created the background by first adding color to the 12 by 12 piece of white cardstock using sprays 
2. Did background stenciling with the Abstract Triangle Stencil & Cracked Pistachio Distress Oxide. 
3. Then did background stamping with grey archival inks using apt words from these stamps: Ampersand, With Love Daisy, Bold You & Little Wonder
4. Die cut frames with the Scallop Rectangle die, a few cute baby patterned papers with the new Stitched Hexagon Dies & the title using the new Baby Girl Word Die. Then Colored the die cuts with distress oxides/sprays.
5. Layered and adhered all the elements including the die cuts & embellishments (buttons, ribbon bows, laces, pearls, butterflies) using foam tape and tacky glue. 
6. In the end, did some additional stamping, added a few strips of Lovey Dovey Washi tape & created splatter with white gesso 

2. CAS Card: Shine & Sparkle


Process:

1. Heat embossed the sentiment in Gold on Navy Blue Cardstock using the Ampersand Stamp
2. Die cut the "&" in white using the Ampersand Trilogy Die set  & adhered it 
3. Die cut the navy blue cardstock using the new Stitched Hexagon Die set 
4. Adhered the die cut to an A2 sized white cardbase, added a strip of glittery gold washi tape & Golden Days Washi Tape at the top
5. Finished the card with a few gold sequins. 

3. CAS Christmas Card


Process:

1. Heat embossed the pretty flower from the new Poinsettia Stamp in gold on watercolor paper
2. Colored the image with Festive Berries Distress Ink Refill, then fussy cut it
3. Die cut chocolate brown cardstock using the Dome Tower Die & heat embossed the sentiment from the Poinsettia stamp onto the die cut.
4. Assembled the card by foam mounting the die cut & flower onto a cream cardbase 
 5. To embellish the card used gold sequins, a bit of washi tape at the bottom and a few dots of red stickles.

PABD Supplies Used:


Baby Girl Die- New Release
Hexagon Die- New Release

Poinsettia Stamp


That’s all for today.

In case. you'd like to see more of my projects using the beautiful PABD supplies, 
you can check out my first two posts---> Part 1 & Part 2

Remember, all the PABD supplies can be bought from the online store here

Hope you have a pleasant week ahead. 

Thanks a lot for your precious time :) 
Stay Blessed!

Sunday, December 11, 2016

Challenge #12 Inspiration By Bilovodenko Nadiya

Hi PABD fans! Today me Nadiya Bilovodenko is here on the fabulous Peek-a-boo Designs  blog with my inspirations projects! and today I did two projects for you. Christmas calling!!! you hear it? The air is already hovering flavor of New Year holidays,  here in Ukraine. I came with some more inspiration for challenge #12 which is a color challenge.
I do a lot of cards to my friends and relatives. Who said, that PABD No Christmas stamps? Let's look together!
 If you have a set of stamps Solid Shapes , can feel free assume that the New Year you have come!
 I took a star stamp on paper pastel purple made embosing white powder, then cut along the contour.
 Background I've done with the help of structural paste and stencil bubbles.
 Then I painted the background with a conventional art of watercolor.
 Who said that our palette can not be the New Year! It may be, let me assure you!


My cards look almost the twins!


I wish each of you good mood and wonderful holidays, regardless of our religion, and faith! Holidays and New Year, it wonders, let us believe in miracles!


AT my projects i'm used:


Sunday, November 13, 2016

Birthday Cards with me Swapna

Hi..
Friends.. Hope you all are back from Festival mode.
I am sure you are playing along with our November Challenge which is colour inspiration. If not then you can any time. Please read guidelines before linking your project. Today I am with two simple birthday cards. Hope you like them.

Card 1

* I selected distress inks which matches our November challenge theme and applied on white panel.
* Then I stamped one of the butterfly from Doodled butterfly set and clear heat embossed them.
* Then applied darker distress ink on it.
* Trimmed the panel and glued on yellow card base.
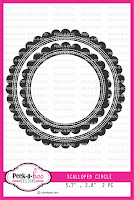
* I glued two scallop circles for interest and foam mounted sentiment strip.


Card 2

* Its a very simple card. I heat embossed one of the fairy from Magical fairies.
* Used zig markers to colour wings.
* I embossed the edges of card base with spellbinder dies.
* Foam mounted the fairy on top flap of card base.
* Heat embossed sentiment inside.


Supplies


 Thank you for stopping by..
 

Thursday, October 13, 2016

Inspiration October release from Nadiya Bilovodenko

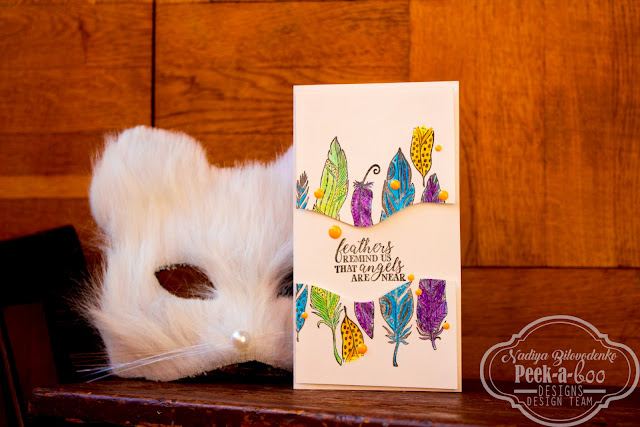
Hi PABD fun's))) Today Nadiya Bilovodenko is here. Our October release is totally AWESOME!!! And i have some favorite set of stamp! I made pop-up-card, hope you like it!

My first project is pop-up-card, and i'm madly in love with this set of stamp!

This wave is madly inspiring! When you open my card, you can see pop-up

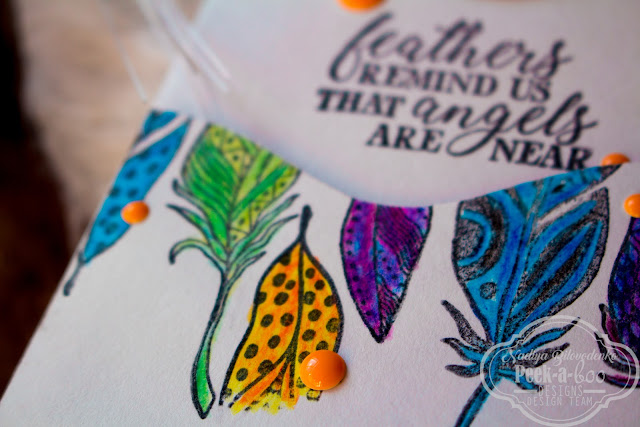
 some close up. Background i made use a new stencil and distress ink.

I often use the method - inside greeting inscription I do the same on the outside.


Аnd a small tutorial on how to do the basic elements.
I took a set of stamps and ink.
Do imprint, they really wonderful? And to paint watercolor pencils.
With distress ink and stencil I do background.
doing major an inscription.

My second project is butterfly mood card.

Background I made with hot embossing, distress ink and water.
Some close up


The third project for today a card with a wonderful set of stamps.
Some close up details


I wish you all a wonderful mood!
In my projects i used:

 Enamel Dots Tangerine

Enamel dots Rose Quartz
Stencil Dimensional