Showing posts with label Quilted Love. Show all posts

Sunday, October 1, 2017

DT inspiration for Paru's Card Making Challenge - A touch Of GOLD

 Hi crafty peeps ,

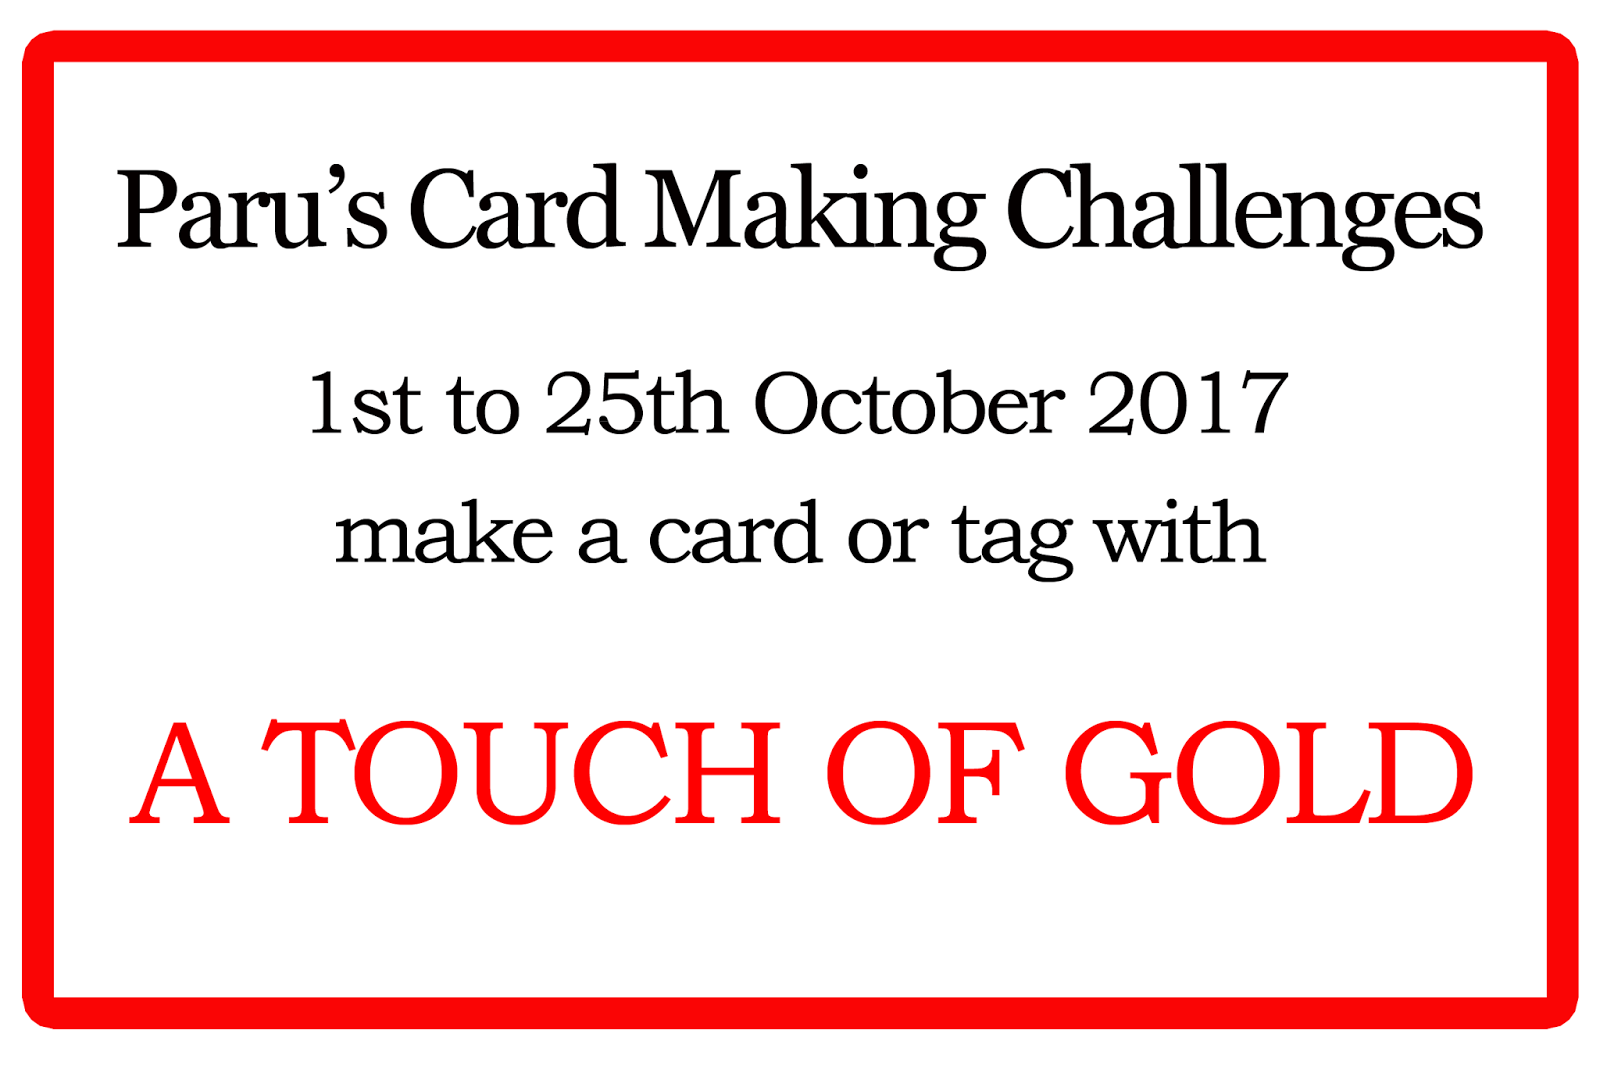
Hope you loved the awesome release we just had we are drooling over every single product and our DT's told me that its really difficult for them to pick their favorites . So this month we are sponsoring Paru's Card Making Challenge and the challenge theme is A TOUCH OF GOLD. You can make any card or tag on this theme.


Find below the DT inspirations for this challenge -

The first inspiration is by Vijaylaxmi -


Here are the steps how she made this card - 
1) She Took a white Cardstock and then used PABD Quilted Love BG Stamp and Heat embossed it in Gold.
2) Then she stamped the flower from our  latest Release Pretty Roses Stamp set which is one of her favorite on a watercolor paper and colored them using Distress inks.
3) once done she Placed all the flowers on the card panel and added a golden diecut word Celebrate.
4) We have so many beautiful Washi Tapes too in our  release this time and she found this Golden Floral Washi Tape perfect for her card so she placed it in the side with a black thin strip . 
5) For the final touch she added some sequins here n there and her card is done !!

The second inspiration is from Piyu-


Here are the steps how she made this card - 
1) First she stamped the roses, leaves and sentiment from the Pretty Roses Stamp set.
2) Then she colored the roses and leaves with copic markers and added details with colored pencils.
3) She added some highlights using golden gel pen.
4) She fussy cut the images
5) Then she took a white cardstock. Added glitter paper stripes and adhered the colored images and sentiment on it.
6) Finally few Nuvo drops were added to finish the card.

Hope you are inspired with our latest release and above inspiration cards.
Do stop by to take part in the challenge and win gift vouchers from Peek-a-boo Designs. 

Love and Hugs
Vidushi Saraf Jain


Products used :


Friday, August 26, 2016

Time for clear cards with Ria

Hi crafty people, 

With all the my love for transparent cards or clear cards and all the queries for the procedure of the same, I am (Ria) back with a couple of clear cards to share!

Without wasting much time I will jump into the steps to make one:


Following are some easy steps for making of this card:


Stamp some floral bunches fromFlower in a Jar set with gold and color it, here I have used distress inks, fussy cut them and adhere them on a patterned paper.


Using the first panel as a base, draw the outline on a separate blank card stock. I have avoided the buds as I dont want them to stick to the card, hence giving a 3D look.


Draw the outlines on two more pieces but this time not the floral outlines, only the arc.


Stamp any background design on an OHP or acetate sheet, here I have used Quilted Love and have embossed it with Enchanted gold from Ranger. Stick the floral base cut out on it with any glue.


As you see, the glue can be visible from the other side as the card base here is a transparent OHP sheet! So, this look is a total No No!!


Stick the copy of the first base cut out on the other side to cover any visible traces of glue.

Stick the other two arc shaped card stocks to the other side of the transparent sheet. and its done!
Take a look


Remember the card I had done last month! the same process for this also.


I have done an extra one to show it to you people about myriad possibilities with the concept of clear cards!!


Supplies used:


Isn't it so much fun! I hope to see your creations too and do not forget to post your creations to https://www.facebook.com/groups/peek.a.boo.designs.india/

Hope you like this post. 
Happy crafting
with love
Ria

Wednesday, August 3, 2016

Celebrate Rakhi with Peek-A-Boo Designs

Hi all,

This time Ria on this side with a set of projects on Rakhi.

 Rakshabandhan or simply Rakhi is a Hindu festival celebrated in many parts of India, which celebrates the love and duty between brothers and sisters. On Rakhi, sisters tie a rakhi or the sacred thread on her brother's wrist which symbolizes the love and prayer by a sister for her brother. 

As the month of August hits, we can see many colorful rakhis being sold in the local markets.
Every year I make rakhis for my brothers; so, this time I thought to make a few with the PABD stamps.

Without wasting time, lets get started:
I will try to give detailed steps as much as possible.

Step 1: I took the Mandala stamp set and had drawn the outline of one of the layers on an OHP sheet.
Step 2: Then I took Happy Birthday to you stamp and stamped the 'BEST' from there on the OHP sheet and handwritten the word Brother, and embossed it white.


Step 3 : I made a shaker RAKHI by sticking it to another paper, a lil bigger on the edges, and some sequins inside it.
Step 4: I finished it with glitter on the edges and a ribbon I had in my stash.


I made another SHAKER rakhi on Blue and have used Banner Alpha for the Word 'BROTHER'.


Now to match it up with, I made a card followed by the simple steps:

Step 1: I have stamped the middle of the Golden Cardstock with Swirly Time and the outer section with Quilted Love by masking one another with two different shades of Gold embossing powders.
Step 2: I have made some handmade flowers (though this is my second try without any die cuts and accessories), placed those with some sequins.
Step 3: A hand written sentiment and some glitters on the edges.

Its done and I am happy to see how the two background stamps can be effectively used.

Lets have a final look on the set.


Supplies used:


I hope you all have liked the shaker rakhis with a matching card. Wish you all a Happy Rakshabandhan :)

With love 
Ria

Friday, January 29, 2016

Mood Board Inspirations

Hello Friends ,


As you know about our current Challenge  # 2 - Anything Goes, where you can make anything you like, but it's gotta have a stamp and any 3 out of the following 4 colors : Saffron, White, Green and Blue. (Think patriotic this month :) )

Here's the first layout I made for the Travel album......


I have used the lovely Chrysanthemum stamp for the main decor of the layout,  and Quilted Love For Back ground from Peek-a-Boo Designs !!!


Hope you loved my creation and got some inspiration. 


I couldn't stop at one so here I have one more creation for you !
A Canvas Mixed Media Art


Do play along our second challenge which is based on a gorgeous Mood Board and yes, it's anything goes. Check all the details here.


That’s all for today. 

Happy crafting!

Sharada Dilip


Friday, January 22, 2016

Background Stamps + Tutorial

Hello and good morning! ^__^

I'm Halak and today I'll be taking you through a tutorial for projects using one of my favorite background stamps by Peek-a-boo Designs, the Quilted Love.

This stamp is not only great for Valentine's Day projects and love themed ones but also makes a great background for casual and fun projects.

So, let's get to the steps for this card!

The first thing I did was take purple cardstock and stamp Quilted Love with white pigment ink, randomly.

After this, I took the same stamp and on white cardstock, using distress inks, stamped repeatedly. (I went kinda crazy here, was having fun mixing the colors!) :D

So this is what it looked like. Pretty cool huh? I definitely will be doing more of these colorful backgrounds in the future!

Then, I took the pretty Chrysanthemum, colored it up and adhered to my colorful background.

You can see that big bloom (this was before I coated some of the petals in fine glitter) in the above picture where I was also trying to figure out the layout et al.

After this, I added a die-cut and some washi tape bits for that extra pop of color. Boom. Done!

I also made another project, check it out :

Super simple and great for those who do not like coloring, the background is made of pink and blue distress ink smooshed onto paper with the help of acetate.

Here's a photograph :

It is the first layer, but I kept building on color as I wanted a darker background.

Once it dried, I stamped Quilted Love in versafine, trimmed it and matted it against white cardstock. This is what it looked like before matting :

After that, stamped a couple of blooms from Lotus Delight on white cardstock, fussy-cut them and adhered to project.

Stamped sentiment, added sequins and some colorful washi tape. You can also add glitter to the flowers to jazz them up a bit!

That's about it folks! Hope you liked  the projects and they inspired you to create something new!

Have a lovely day! *Hugs*


Posted via Blogaway