Showing posts with label July release. Show all posts

Saturday, July 30, 2016

The inspiration of Layers challenge #8 from Nadiya Bilovodenko

Hi crafty friends! Today its me Nadiya Bilovodenko at the Peek-a-boo Designs blog with my inspiration for challenge #8 - Layers. The Challenge carries an incredible inspiration from the fellow DTs. 

My first project is card. Today I show you some cards. Have used scrapbooking paper card + some 
incredible stamps from Peek-a-boo Designs. 

I like working with two or three sets of stamps.


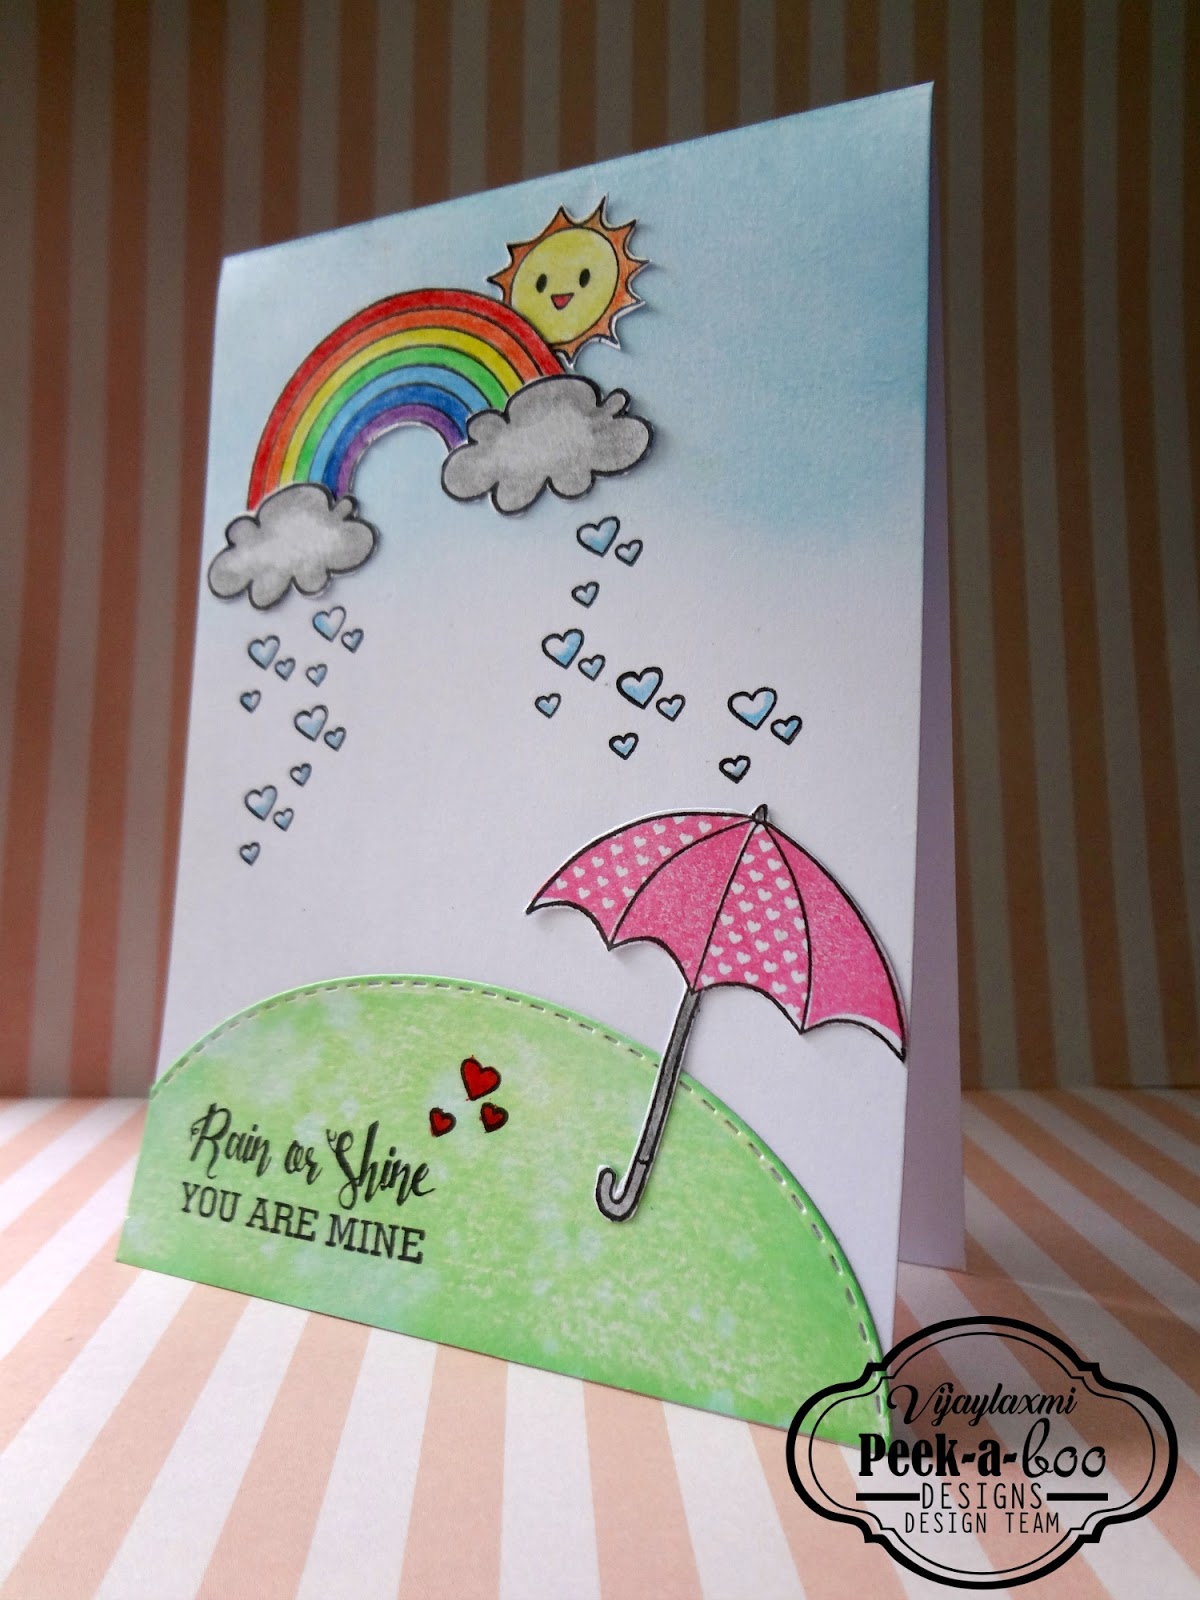
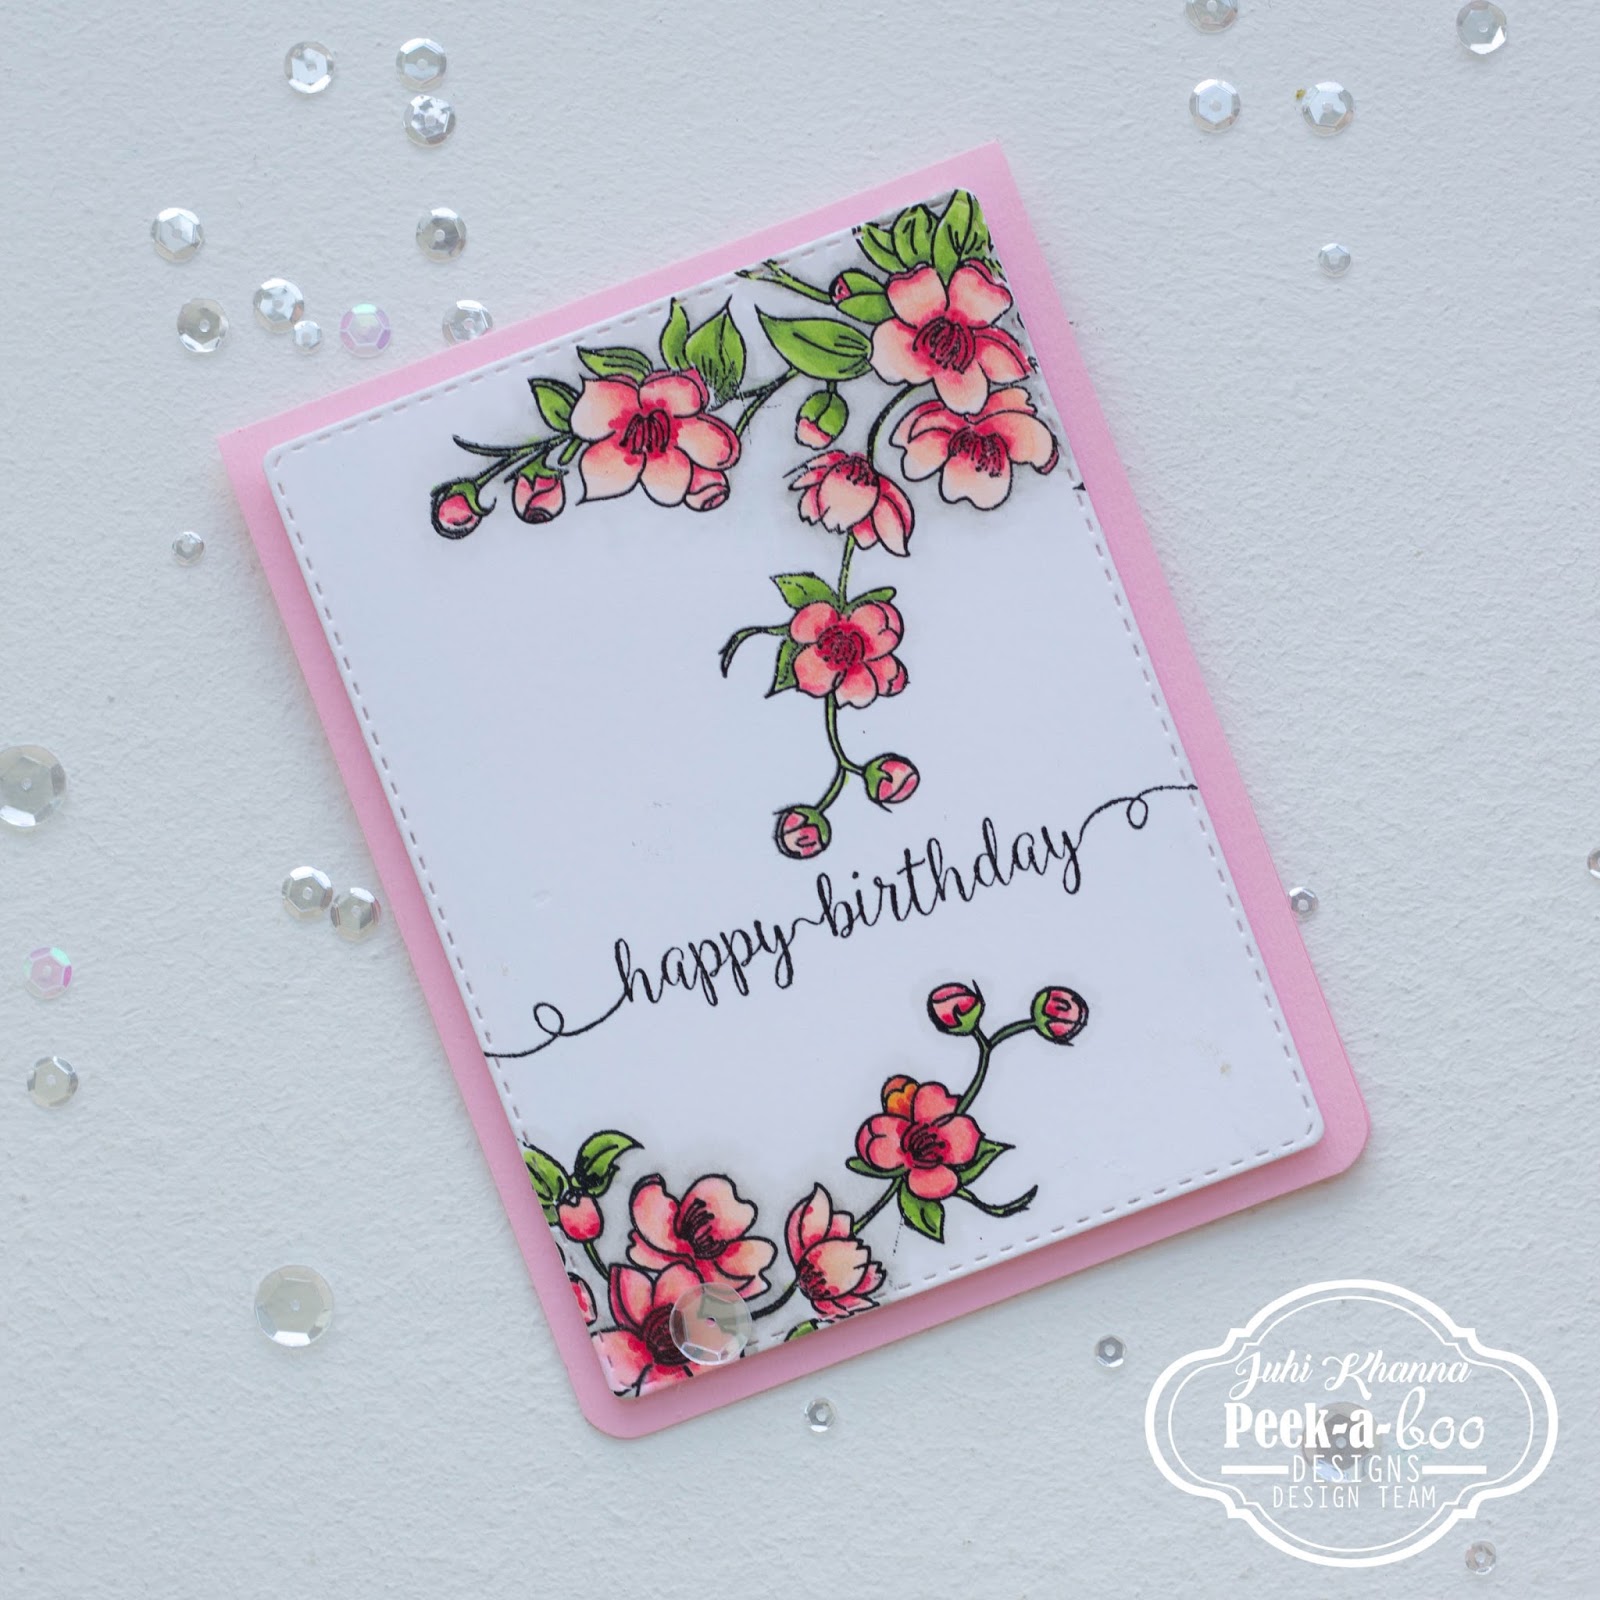
 Birthday wishes, what can be better?


My second project - is again a card.


All the words of greeting Is stamped on vellum.

And my main elements I made on scrapbooking paper. Doesnt the polka dotted humming bird look cute ?? 

My third project is a card which has a pocket for money.


Hummingbird adds a charm and glamor to the project. 

Indeedа fun birthday!


 Inside there is a pocket for money or a gift card. 


 I also made a small tutorial. Where I show how I made congratulatory inscriptions and main elements of my projects.


 I invite you to our  Challenge Layers.


In my projects I have used:

Wednesday, July 20, 2016

Fairies are Magical

Hello friends! Nadiya Bilovodenko is here))) I am honored to be in the design team, a wonderful producer Peek-a-boo-Designs! When I saw the July release, I fell in love with fairies! They are so mysterious! I believe in fairies exist. And it seems to me that the fairies are using their love and magical skills to make the macronsLet's not wait any longer and check my project for the day . I have made a freestyle LO.


The fairies are weightlessly using their magic wands to  work wonders and sweets...


Аgree with me, it's magic. I hope you like my freestyle LO )))
I have prepared a little photo tutorial for you

Step 1. I took the fairy stamp and stencil -  bubbles 


Step 2. Then I used  paste texture with Stencil bubbles I really liked to work with this awesome stencil . It is easy to wash and perfectly gave texture to the LO.


 Step3. Adding color.
I used the most ordinary children's watercolors!!


Step 4. We do the most important decorations.
I really liked the quality of the stamps they give an excellent imprint.


Step 5. It's simple. Just fussy cut ..


 Step 6.  Add glitter glue on glossy.


 Step 7 the last make the composition. Fairy Wings glossy cover with glue and add little shining star.

I am very worried. This is my debut. I hope you enjoyed it.
Used in the project:


Sunday, July 17, 2016

3 CAS Cards !!

Hi Crafty Bugs...Vijaylaxmi here ...!! Hope you all are enjoying this monsoon... :) 
I am sharing few cards today using some stamps from old release & some stamps & dies from latest release !! 

So without any delay here are what i made ---


First Card

Steps -

1) Took a standard sized CS and using Jennifer McGuire's Floating Die cut Panel Technique cut the panel using Graceful Lattice Die.
2) Then Stamped the flowers from Mandala Stamp set & colored them using Pencil colors.Fuzzy cut all n arranged on the lattice bg !!
3) Stamped the sentiment from Magical Fairies stamp set, matted with a silver glitter strip.
4) Done :)

Supplies used -


Second Card 
As per the season's demand i created this card :p Yup ...who does not love this rainy season and awesome cloudy weather so inspired by the surroundings i made this one..!! :) 


Steps -

1) Took a standard sized CS.
2) Then Stamped all the elements from Splitter Splatter Stamp set & colored them using Pencil colors.
3) Stamped the sentiment from the same stamp set on a die cut & distressed green panel.
4) Fuzzy cut all images & arranged to create the monsoon scene & yay we are done :)

Supplies Used -


Third Card 

As Teachers Day is also coming in next months so i thought i should start making cards from now to gift all to my Daughters Teachers as i am very slow so i started early .. :p


Steps -

1) Took a standard sized CS in grey color.
2) Then Stamped the monochromatic background using all alpha's from Scripty Alpha's Stamp set & Back to school Stamp set in grey ink.
3) Stamped the Trophy & Sentiment from the same stamp set on a die cut  panel using Dual Stitched Rounded Rectangular Die.
4) colored the image & tied a twine to create more interest  :)

Supplies Used -


All Stamps, Dies, Stencils , Acrylic Blocks & Card stocks are now added to the store so hop on to the store's new website for better shopping experience !!
Enjoy this monsoon with the ongoing discount cum sale ....for discount coupon code please use .....VIJAYLAXMI_10
Hope you are joining us at our July Challenge #8 : Layers !! Do read the rules & guidelines before submitting your lovely entry :)                         Thank you so much for taking time & leaving me love :)                                                          ***   Vijaylaxmi Siyal  ***


Thursday, July 14, 2016

Let's Chill and have some fun!

Hello everyone! It’s Juhi, I’m here with my first post for Peek-a-boo designs. I had so much fun playing with the awesome July release. I combined them with some previous releases to create my projects. Now without further ado, over to my cards:


Project 1:
CAS card with Peek-a-boo designs stamps. Images colored with copic markers.
I created a CAS floral birthday card. I’ve used the gorgeous “Humming Blossom” set from the July release. I love floral stamps and this one’s is absolutely gorgeous! The flower branch offers so many possibilities and added to it are the 2 hummingbirds and a beautiful sentiment!
I stamped and heat embossed the images and colored them with Copic markers. Finally die cut and mounted the panel with double sided foam tape.
CAS card with Peek-a-boo designs stamps. Images colored with copic markers.


Project 2:
Fairy double slider card with Peek-a-boo designs stamps
Slider cards are my latest obsession, I just can’t seem to get enough of them. For my second project I’ve made a double slider card. What is a double slider card? You might ask, well a double slider card has 2 sliding elements :)
Fairy double slider card with Peek-a-boo designs stamps
The fairies, which are also from the July release slide around the center oval sentiment. Isn’t it fun! I think the Magical Fairies stamp set it just perfect for making slider cards.
Fairy double slider card with Peek-a-boo designs stamps

Project 3:
Watercolor card with ice-cream candies with peek-a-boo designs stamps
I used an older stamp set for my 3rd and final project. Water coloring is one of my favorite techniques, I created this card by repeatedly stamping the ice-cream image on watercolor paper and loosely watercoloring the images. I was not concerned about going outside the lines, coloring outside the lines creates a beautiful, dreamy look.
Watercolor card with ice-cream candies with peek-a-boo designs stamps

I hope you like my creations, I had a great time making these.What’s more you can get a discount of 10% on all the items. This discount is valid till 31st of July, 2016.


All you have to do is to apply the Discount Coupon code- JUHI_10


Supplies Used: