Showing posts with label funky shapes die. Show all posts

Wednesday, December 21, 2016

Thank you by Swapna

Hi.. Crafty friends over at Peek-a-boo designs..

Here I am with my last post. I have two cards for the blog today.

Before coming to my cards here I would like to thank you all for all the love and support you showered on me throughout my journey at Peek-a-boo designs. It was my pleasure to work with such talented team. I really thank every team member of Peek-a-boo and Vidushi off-course for believing in my work.

Card  #1

* I die cut small circles and hearts using Peek-s-boo dies.
* Stamped sentiment with grey ink .
* Glued the grey panel on card front and adhered red hearts in the circle.
* Applied clear wink of stella and glossy accent on hearts to make them pop.

I will really try my best to be in touch with you all through my Blog and Page.


Card #2

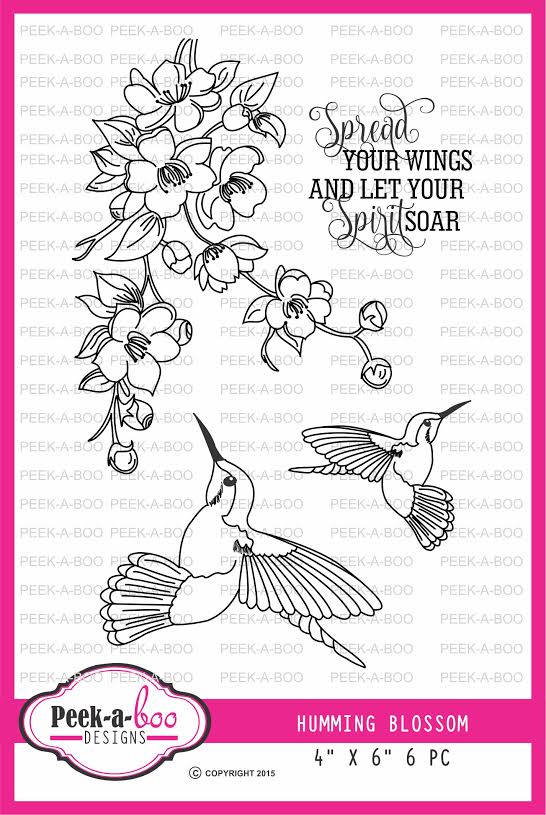
* I stamped the floral image on kraft CS using a brown ink. I stamped same image on a scrap of kraft panel.
* Coloured the panel with steadler pencils.
* Stamped sentiment with copper metallic ink so that the focus to be on flowers.
* Foam mounted the panel on card front so that it merges with the stamped image and sentiment on the background.


Hope you all liked my cards..

Supplies


Once again Thank you to all reader, team mates and Vidushi for this wonderful opportunity..
As always Suggestions are welcome..

Wednesday, August 31, 2016

A FLOWER SELECTION OF CARDS

Hello crafty friends, Martha Lucia here to share with you a complete selection of cards created with flowers. All of these are flowers from our stamp sets and you can combine, cut and edit these to create your own designs. Let me show you my first card:


For this card I used the stamp set Humming Blossom and a watercolor technique. Creating this was very easy:
1. Cut a layer of watercolor paper. 
2. Ink an acrylic blog with four different colors of classic Ink. I used Wild Wasabi and Pear Pizzaz for the upper part and Blue Sky and Pool Party for the lower part. 
3. Spray the block with water and put the watercolor paper over the acrylic block.
4. Remove the paper and let it dry. If you want to speed up the process, you can use the heat tool.
5. Take the branch flower image from the stamp set Humming Blossom and ink it with markers. I used the colors Crushed Curry, Garden Green and Rose Red.
6. Spray the stamp with water and stamp over the watercolor background. Let it dry.
7. Stamp your sentiment with Paris Dusk Memento Tuxedo Ink.
8. Decorate with a die cut from the Funky Shapes Die Set. I used gold glimmer paper for this purpose.
9. Cut the base of your card and assemble it.


My second card is a Clean and Simple model that I made using the Dahlias Layered stamps and coordinating die cuts. These flowers are totally gorgeous and this is definitely one of my favorites sets.


Creating this card was very easy. This is a one layer card created in Whisper White card stock.

1. Stamp the solid images of dahlias, large and small, using Sky Blue and Bermuda Bay Classic Ink.
2. Use Stamp-a-magic to stamp over some dahlias from the previous step to make some corresponding flower with lines using Night of Navy Classic Ink.
3. In another piece of card stock, stamp the solid image of the dahlias using Pool Party Classic Ink, and the detailed images with Night of Navy and Island Indigo Classic Ink.
4. Cut the flowers stamped in the previous step using the corresponding die cut and paste over the stamped background using dimensionals or zapdots.
5. Stamp the sentiment from the stamp set Fiends Forever using Night of Navy Classic Ink.
6. Finalize the decoration by adding some silver sequins.


My last card is a combination of elements: decorated paper, word die cut and a little flower. This flower is from the stamp set Flower in a Jar. Take a look at my card:


The base of this card is Rose Red and the second layer is Whisper White. Creating this was very fun:
1. Cut the second layer using whisper white card stock and stamp the rose from the stamp set Flower in a Jar several times in diagonal lines using three different colors of Memento Ink. I used Grape Jelly, Lilac Posies and Lulu Lavender. 
2. Cut the third layer using decorated paper and create a diagonal angle. 
3. Match the border and cover it with a tiny piece of rose red card stock.
4. Tie several loops of natural twine and create a bow.
5. Cut the Love die word in a coordinating color and paste over the tiny border.


These are the products that I used in today's creations:


All of these are available in our store in you will find a lot of more to use these ideas in your own way!

See you soon with our new release!

Thursday, July 28, 2016

HUMMING BLOSSOM AND MORE

Hello dear friends, Martha Lucia here to share with you some of my creations this week. I don't want to stop using the Peek-a-boo stamps, they are totally gorgeous and for today's post I chose three amazing sets.

This is my first card, on this I used one of the images included on the stamp set Humming Blossom. Take a look at my card:


I stamped the blossom image several times directly over the card base using Memento Tuxedo Black Ink and colored partially each branch using color pencils and sansodor technique. I added some white points with a white gel pen on the center of the colored flowers to enhance the details of these.


For the sentiment I used the sentiment included on the stamp set stamped in a white circle and decorated with a black mat.

My second card is very different from the first. In this project I used as focal point the die cut Victorian Gate.

The base of the card is Very Vanilla card stock. I stamped on the upper part a sentiment form the stamp set Friends Forever using VersaFine Onix Ink and then I made over this a dry embossing using the Softly Falling Embossing Folder. After this, I inked the base with three different colors of ink: Soft Suede, Wild Wasabi and Bashful Blue.


I cut the die Victorian Gate using metallic green card stock and paste it over the embossed card base using dimensionals or zapdots to give more hight.


As final touch I added some heart sequins in blue marine color to create a big contrast.

My third project is very special. I am designer for another company specialized in digital cutting files, they give me a file to create  my own Year Planner or Agenda and I decided to make my own version of this making this like my art journal. Well I made one of the pages of my planner with one of the stamp sets of Peek-a-boo and decorated it with other elements others for now, because I have 18 months to complete my journal. Take a look at my page:


In this page I used the stamp set Flower in a Jar stamped with Memento Tuxedo Black Ink and colored with color pencils and stampin' pastels. Also, I used the Dual Stitched Rounded Rectangle die cuts to create the frame where I stamped one of the sentiments.

Here are other details that I used on my planner created with Peek-a-boo products until now.


The little arrows frame were cut using a layer created with Makin's Clay red and the die cut from the set Funky Shapes. The star frame was cut in gold metal sheet. And the Dream Word in Very Vanilla card stock.

My idea on the planner is have one word each month to keep in mind and for August my word is Dream.

Products Used:


I hope my projects inspiring you to use the new stamps and now I have a special news for you! You can buy all the new releases with a 10% off using my 
discount code MARTHA_10 . So run and don't let the stamps and dies run out of the store!

See you soon!!!

Thursday, July 21, 2016

Stencil love - 3 cards

Hi... Hello..
Crafty friends... I am Swapna from The Dream Pages

I am Swapna from The Dream Pages, I hope you are playing along this month's challenge which is LAYERS


Hope you are enjoying our blog posts from all fellow DTs. This is my second detail post for this month for PABD and its mainly on STENCILS. Sometimes its tricky to add layers in CAS cards but its fun to challenge yourself to do so. When the post is about stencils then lets talk about these stencils a bit.

These are 8.5*8.5" stencils which allow you to cover larger area so these can be used to make 5*7" cards also and for Mixed media too.

Now coming to my projects

Card 1

I have a small, behind the screen story for this card.
To be frank I was not sure about this card. My fellow Dt Ria have designed this stamp and after July release she asked me 'Did you like Humming blooms' set n particularly bird images? I said liked but I might not do justice with birds so I will use only flourish from the set. Then I thought WHY NOT TRY birds. So decided to make this card.

* My first step was to keep the card base ready, so i took a black top folding card base. I secured the base to my work surface along with stencil. Applied texture paste concentrating towards centre portion of the base. Left it air dry.

* I stamped and coloured the small bird from the set on water colour paper and coloured in rainbow theme. Then fussy cut the image. I used wink of stella for blending colours and to add shimmer to the image

* Heat embossed the custom sentiment on black CS.

* Mounted bird and sentiment with foam tape.


Closer look


Supplies


______________________________________

Card 2

I will try my best to explain this card.

* I took 15*7" CS, scored at 5 and 10".

* Partial die cut on each flaps using the stitched oval dies.

* Placed the stencil on one flap and applied SSS lavender ink and on other flap I applied hero arts white pigment ink. While placing the stencil on other flap I made sure the design that the design continues.

* Cut white CS with second large and second small stitched oval die. Stamped image with same SSS ink. Coloured the image with colour pencils. Stamped sentiment with Versafine black onyx ink.

* Glued large oval inside card. Mounted small oval in the front.


Supplies


___________________________________


Card 3

After doing 2 cards I was thinking to do one more card with our third stencil. Thought to keep it simple.

* Placed the stencil over a white CS. Used two distress inks to blend.

* Trimmed it 0.5 cm on all sides so that it can fit on the card base.

* Stamped the sentiment with black ink. Applied black wink-of-stella for shimmer and Glossy accent for gloss.

* Die cut a heart, applied wink of stella and glossy accent.


Closer look


Supplies


Thats it..

Hope you liked my work..

We also have 10% Discount on your purchase through the month of july. Visit Peek-a-boo designs site and grab the discount.

Copoun code is SWAPNA_10


Suggestions are always welcome...

Thank you...

Swapna

Tuesday, July 19, 2016

JULY INSPIRATION

Hello dear friends, Martha Lucia here sharing with you my first post with Peek-a-boo Designs! I am so happy and proud to be part of you!

Today I have three cards to share with you using the July Release. Oh my God, did you see the entire release? It is amazing and I didn't know where to start but let me show you my first card:


I created this card using the stamp set Layered Dahlias and the Funky Shapes Die Cuts released this month. I combined these beautiful flowers with a sentiment from the stamp set Friends Forever


The Layered Dahlias are a beautiful flowers that come in three layers that you can stamp to create a great contrast. In this project I only used two of the layers and one of the flowers. I used the base that I stamped in a light color and the details in dark color. I didn't stamp the outside petals. 

Of the Funky Shapes I only used the stars, that I cut using metal gold sheets and I pasted over the stamped area.

From the Friends Forever stamp set I took the banner Friends that I stamped with VersaFine Onix and covered with clear embossing powder that I melted with the heat tool and fussy cut with my scissors and pasted over the stamped base using zapdots or dimensionals.

My second card is totally different. For this I used other colors and other stamp sets and die cuts.


The base of this card is Whisper White card stock and I sponged the top side of the base with Abandoned Coral Distress Ink. Then I cut a second layer using the Graceful Lattice Die Cut with card stock Early Espresso. I pasted this die cut over the inked base and for decorate the borders I cut a stitched border using the Dual Stitched Rounded Rectangles Die Cut


Using the same die cut cut I created a stitched border over a piece of whisper white card stock and I stamped on it the sentiment Thanks a bunch that is included on the stamp set Flower in a Jar using VersaMark and Gold Embossing Powder. I melted the powder with the heat tool. Finally I decorated the left side using the image of the Poppies Bunch stamp released this month. I stamped this on whisper white card stock and colored with distress ink and fussy cut with scissors.

My last card is a Clear and Simple model that I made using a Word - Dream Die and two images of the stamp set Magical Fairies.


I created this card cutting several times the Dream die cut in Very Vanilla card stock and pasted these over the layer of the same color to create the background. Then I stamped individually the fairy and the sentiment over vellum using VersaMark the Blueberry Cheescake WOW Embossing Powder and I pasted these over the decorated layer.


On the photos you are seeing the embossing images a little distressed it is a light effect because this embossing powder is a marbling color but when you have the card in your hands this is simply amazing!

Products Used:


I hope my projects inspiring you to use the new stamps and now I have a special news for you! You can buy all the new releases with a 10% off using my 
discount code MARTHA_10 . So run and don't let the stamps and dies run out of the store!

See you soon!!!