Showing posts with label SUMMER COOLER. Show all posts

Friday, November 25, 2016

A summery set of cards

I know it's almost winter in a lot of places but it's always summer here in Singapore! So why not make some fun summer themed cards? I've used the awesome "Summer Cooler" Stamp Set to create 3 bright and summery cards today.
Water Color Background with Ken Oliver Color Bursts and Peek-a-boo designs stamps
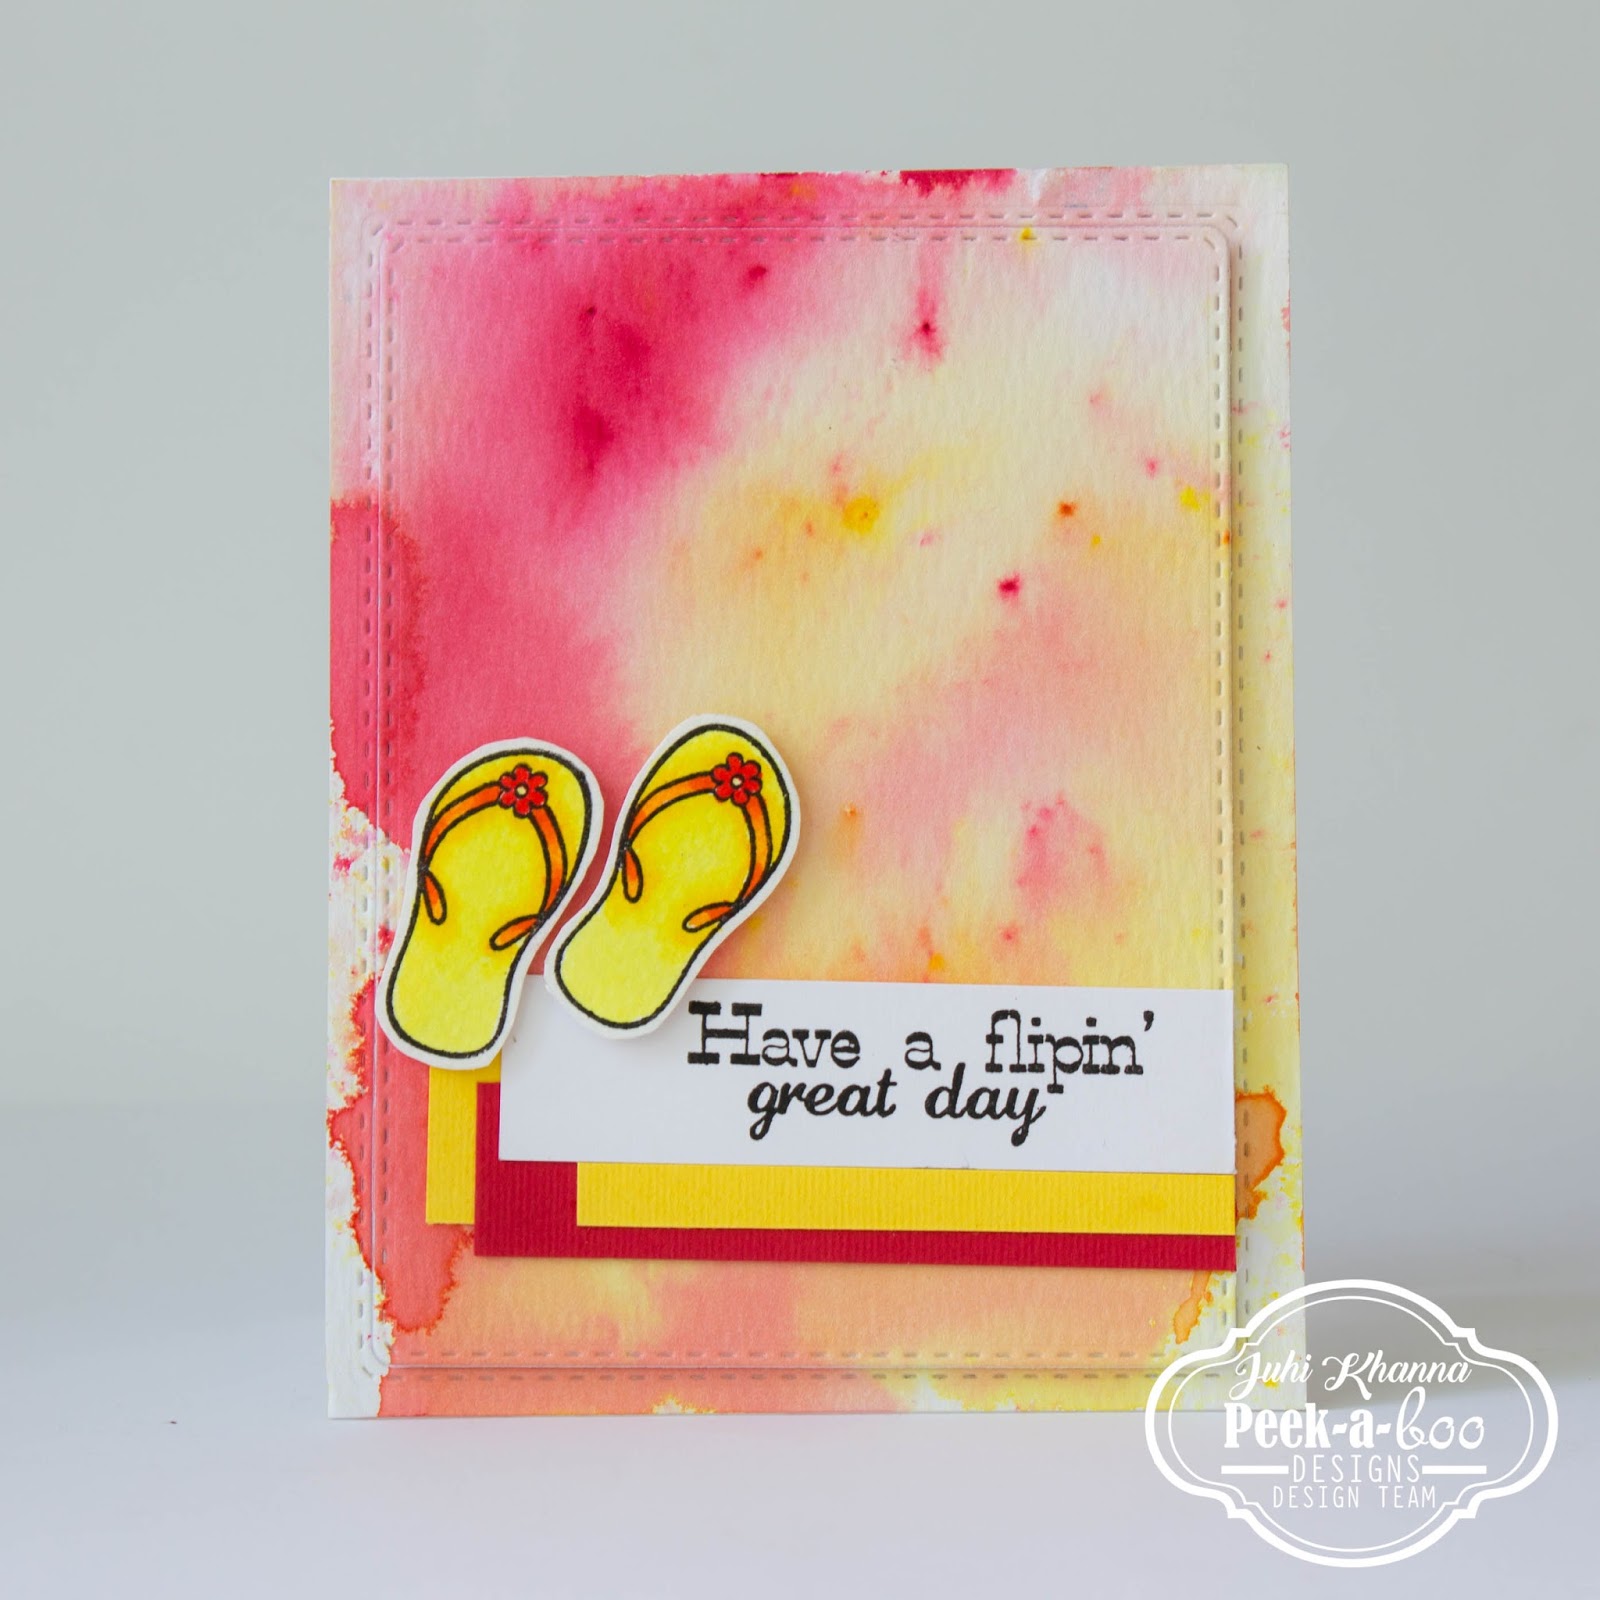
I created the watercolor backgrounds for all the cards with Ken Oliver Color Burst powders. I first sprinkled a little yellow, orange and crimson pigment powders on a piece watercolor paper and then sprinkled water on it. Following this I placed the second piece of watercolor paper on top of the first to pick up color from the first piece. This creates a beautiful smooshed effect.
I stamped the images onto watercolor paper, colored them with Zig Clean Color Real Brush Markers and fussy cut them.
I finally finished the cards by adding sentiments appropriate for the stamps. The sentiments in this set are so witty and go perfectly with the images. Don't you think so?
Thanks so much for stopping by today!

Supplies Used:


Sunday, August 28, 2016

Crafty sunday with Daksha popat

Hello ! crafty Friends,
Hope you all must be doing very well!...Today I, Daksha Popat, am sharing three projects with you ,keeping in mind this month's challenge...Colour Ispiration! Hope you all will like it and hope to see more and more of your entries for this month's challenge.To see more inspirations  and challenge post HERE..

MY FIRST PROJECT : CARD


 Its an oval diecut card,made using oval dual stictched die #PABD . For the top layer I have used Oval frame which I have cut  using oval dual stitched die. In the window of the oval frame I have used Graceful lattice die cut .Bottom of that window frame I have used oval piece of diecut which I have distressed with distress inks -Squeezed lemonade and rusty hinge...Finally used #PABD sentiment die INSPIRE and decorated with liquid pearls.
Flowers I have coloured with Altenew ink cosmos red and highlighted with wink of stella, For the leaves used cheerylynn leaf die cuts, which I have painted with peeled paint reinker n then used crackle paint

SUPPLIES USED :


MY SECOND PROJECT : CARD


For this card after cutting cardstock for my 1st project ,negative part of diecut left.,..I have used  that left out negative piece from my 2nd project.

SUPPLIES USED :


MY THIRD PROJECT : BOOK MARKS


These cute little bookmarks can be ideal gift for Teacher's Day!.Its very east to make . Used jumbo metal paper clips for these bookmarks . To stick two scallops circles diecuts I have used double sided foam tapes and hot glue gun (you can used red tacky tape also ). Stamped images are either stamped on pattern paper n fussy cutted and others stamped n coloured and then fussy cutted

SUPPLIES USED:


Thank you so much for stopping by...
Love n hugs 
Daksha

Friday, July 15, 2016

Peek-A-Tute Friday : Altered Mini note books - Daksha

Hello! crafty friends

Hope you are enjoying the work done by our DT members, using July months PEEK-A-BOO designs
 As you all know that this month theme is LAYERED PROJECTS..so don't wait and participate in this months challenge..more details HERE
 Today I am here with 2 projects
# 1.Tutorial on Altered mini note books
# 2.Altered phone book

PROJECT # 1 Altered mini note books

These note books are very easy to make and you can try them with your basic skill and stuff...So with no further delay lets start...

Note book #1


note book #2


note book #3


note book #4


note book #5


TUTORIAL: Altered mini note book

STEP -1 -First take the measurement of mini note book,that you want to alter.Take a cardstock of your choice (here I have taken black CS) to cover my mini note book.Cut to exact size of your notebook.
STEP -2 Stick this  or cover this black CS on notebook with glue or red tacky tape,press properly on all sides and barnish it. Your cover is ready..now to decorate ....


STEP-3 for 2nd layer take any coloured CS 1/4" smaller than the front cover of the notebook (here I have used light pink CS.you can use any pattern paper also but I have made my own pattern paper using stamp so that it matches with my theme.I stamped ice-cream image with black Archival ink on light pink CS and  my pattern paper is ready.
STEP - 4 Stick this PP on the front of note book 


STEP - 5 Then I have taken white diecut piece using smallest die from oval dual stitched die set and on that I have stamped the sentiment  with black ink,and stuck the water coloured image of ice-cream stamp with foam dots
STEP - 6 Finally highlighted with black colour rhinestones and given stitched boarder all around using black marker pen.
N.B: If your notebook binding is thicker and bigger in size then covering with CS will not work ,it will open up from the hinge or binding parts. With bigger and thicker notebook or Diary we need to cover both front n back( leaving hinge part )..with CS and then hing part or binding part we have to cover with separate piece of CS or with binding tape or decorate sides with laces.Process can be vice versa also like hinge part can be covered first n then front n back ..depending on your designs


For Peek-a-boo designs products click HERE


Supplies used


PROJECT #2 Altered phone book

In this project ...my phone diary is in dark green colour so I don't need to cover it with CS..only I have layered it with pearl cream card stock,then black and finally I have distressed layer.For distress layer I have used  distress inks -shabby shutter ,scattered straw,peeled paint,chipped sapphire. Then misted with water using very fine spray bottle.Dried immediately with heat gun.Again misted with perfect pearl mist spray to get pearly misted look.Then used Graceful lattice die cut in white,on that I have used Oval dual stitched die cut frame which I have used as  photo frame with vintage photo...Finally to decorate oval frame I have used stamped layered Dahlias and leaves..used word INSPIRE die cut in black n decorated with metal charms in all four corners and a dragonfly using E6000


Supplies Used :


Are you enjoying the ongoing discount cum sale ....for discount coupon code please use .....DAKSHA_10

Thanks for stopping by...hope you liked both of my altered projects as much as I loved making them
Love n hugs 
DAKSHA


Sunday, May 1, 2016

Challenge 6 # Inspire Yourself !!

 Hello Lovely Crafters!! Welcome to the blog with new challenge and some awesome prizes to win AND most importantly a brand new release and loads of inspirations!!

        We are so overwhelmed with your fantastic response for our previous Challenge # 5 !! All entries are so so beautiful & gorgeous that its gonna tough time for us to pick the winners from all of you guys..but we loved all the entries & off course love you all so we would like to see you again & again  with your wonderful entries..!!

We have a lovely challenge for this month.. All our DTs had real fun creating each element in their projects so that all off them could be different from each other and you guys could have a huge range of choices !!


Here is what this challenge is all about :

All our 5 DTs have completely different themes and elements in their projects.. You need to be inspired by any one of the projects and use any THREE (3) element from any one of their projects and make your entry for the challenge!!

 ** Additional Rules for this Challenge **

Use atleast THREE elements from any ONE of the DTs project and make your entry project and mention in you entry which element have you picked.

For inspiration our DT members have made a project each be sure to pick elements from just one project to qualify.

Here is a glimpse of the projects. You could click on their entry picture to check all the details of their project on their Blog.

HALAK SHAH


A classic CAS birthday card using the Solid Shapes stamp set for background. Elements used : Brads, Sequins, Die-cut (Sentiment is a Die-cut), Glitter, Washi Tape, Paper Tape and Pastel Colors.

MANU GUPTA


A Super cool summer cooler card with mainly ice cream elements from the 'Summer Cooler' stamp set. Have used, Stamps, masking technique, vellum, heat embossing, confetti, sequins etc!


A CAS Card with the smartest sentiment set of the month. Used Button, partial die cut, blings , Pattern paper , co coordinating CS and Fabric washi tape to embellish the card.


I have a fun travel layout on a Polka Dot pattern paper with loads of tags and embellishments and loads of stamping of course. Used twines, washi tapes, buttons, and loads more .. 


A fun Monster Card with Galaxy Background Using Distress Inking, Water Bleaching Technique, Paper Piecing / Fuzzy Cutting, Heat Embossing, Stamping, Coloring , birthday Celebration as elements to complete the card !!


Stamp Set used in this post  from our new collection are as follows!!


Other stamps from our MAY release :


You can purchase these from www.thepeekaboodesigns.com.

 General Rules : 
  1. Be a follower of our blog
  2. Create a new project for the challenge. No back links please. Altered art, ATCs, cards, scrapbook pages, or any other craft projects are acceptable as long as they adhere to the month’s challenge. You may enter as many projects as you like.
  3. USING STAMP IS A MUST
  4. Please link to the exact post on your blog - not the home page URL of your blog - using the inlinkz icon at the bottom of the challenge.
  5. You MUST mention our blog in your post AND link back to our blog or your entry will not be counted.
  6. If you do not have a blog you can enter our challenges by tagging us on facebook and instagram with "#PABDchallenges". If you do not tag us we do not see your entry.
  7. You may enter a card, a page layout, an altered item, a mixed media item, a mini album.. anything that fits the challenge, unless the challenge states that a specific type of project must be created. Please , no 100% digital projects. A part of the project can be digital.
  8. No restriction on the number of challenges you can take part in - As long as your project matches our challenge, you may "pile on" the other challenges to your heart's content.
  9. We will accept a maximum of three entries per person. Please add -2 and -3 next to your name for subsequent entries.
  10. A Winner will be chosen on their merits. So submit your most creative projects. And that's all there is to it! International Crafters are welcome to participate in our challenges but their prizes would only be sent to an Indian address due to high shipping cost
Hope  you like our fun challenge and our new release !!


Love
Vidushi !!