Hello and good afternoon! ^__^
I'm
Halak and today I'm going to be taking you through a tutorial for the card you see in the image above.
Before I begin, a reminder : Our current ongoing challenge is to have a colorful project in a set, that is two or more things in a project but it cannot be two cards.
This tutorial has been created keeping in mind the ongoing challenge guidelines.
This means, your entry to the challenge can be a card with a matching tag, a card and a matching envelope, an album and a tag... etc.
Two or more projects in a set which have to have 4 or more colors from a rainbow. There's still time to play along so I hope you participate! ^__^
Okay so now that the reminder is done with, let's get to the project!
I made this card with a matching envelope using the following stamp sets :
Steps :
First, I stamped Nysaa onto white cardstock twice. Kept one image as-is and fussy cut the second image.
Then on the cardstock where I kept Nysaa as-is, I placed a sentiment from Stringy Text to position and stamp.
Note : I masked the lower portion below Nysaa's dress using a small piece of scrap paper. I was not actually bothered about the dress itself because I had decided early on that I would be paper piecing.
Once my sentiment was stamped, I took the fussy-cut Nysaa and masked the Nysaa on the cardstock with masking tape.
After I masked Nysaa, I took a stencil and stenciled pattern using Orange (Spiced Marmalade) and Yellow (Mustard Seed) distress inks.
Tip : When you stencil, exert the lightest pressure you can and then build up on color. Remember, transition from light to dark with building up on colors is easy, but a transition from dark to light is not possible in stenciling.
For the dress I stamped Nysaa partially onto pattern paper.
Note : A great way to add a personalized touch to pattern paper is to stencil a design on top of it like I did using distress inks.
It gives projects added dimension and depth.
Tip : It is also helpful if you know what color blends will give what results, example :
Pink + Yellow = Orange
Blue + Yellow = Green
Pink + Blue = Purple etc.
It is easily available online with a chart so when you have the time, do look it up, it will benefit you greatly because you will be able to achieve more from less.
Positioned the dress that I paper-pieced onto Nysaa and decided on the embellishments I was going to use.
Tip : If you are a lazy colorist like me (lol) or coloring is not your thing but you want a beautiful outcome while using a doll image, an option like Nysaa is great because once the dress is paper-pieced, there is very little coloring required!
Once the dress was adhered, I colored Nysaa using color pencils (Staedtler Luna, 48 color set).
Finally added some pearls + rhinestones, matted the white cardstock onto purple cardstock and added a tiny black felt flourish on the top left hand side.
So that's how I did it!
The matching envelope was super simple, just stenciled the same design that was on card background using yellow and orange distress inks, stamped the Happy Birthday sentiment from Stringy Text and added a couple of embellishments.
Hope you enjoyed the project and learnt something new!
Thank you for stopping by! *Hugs*

 Let's take a closer look!
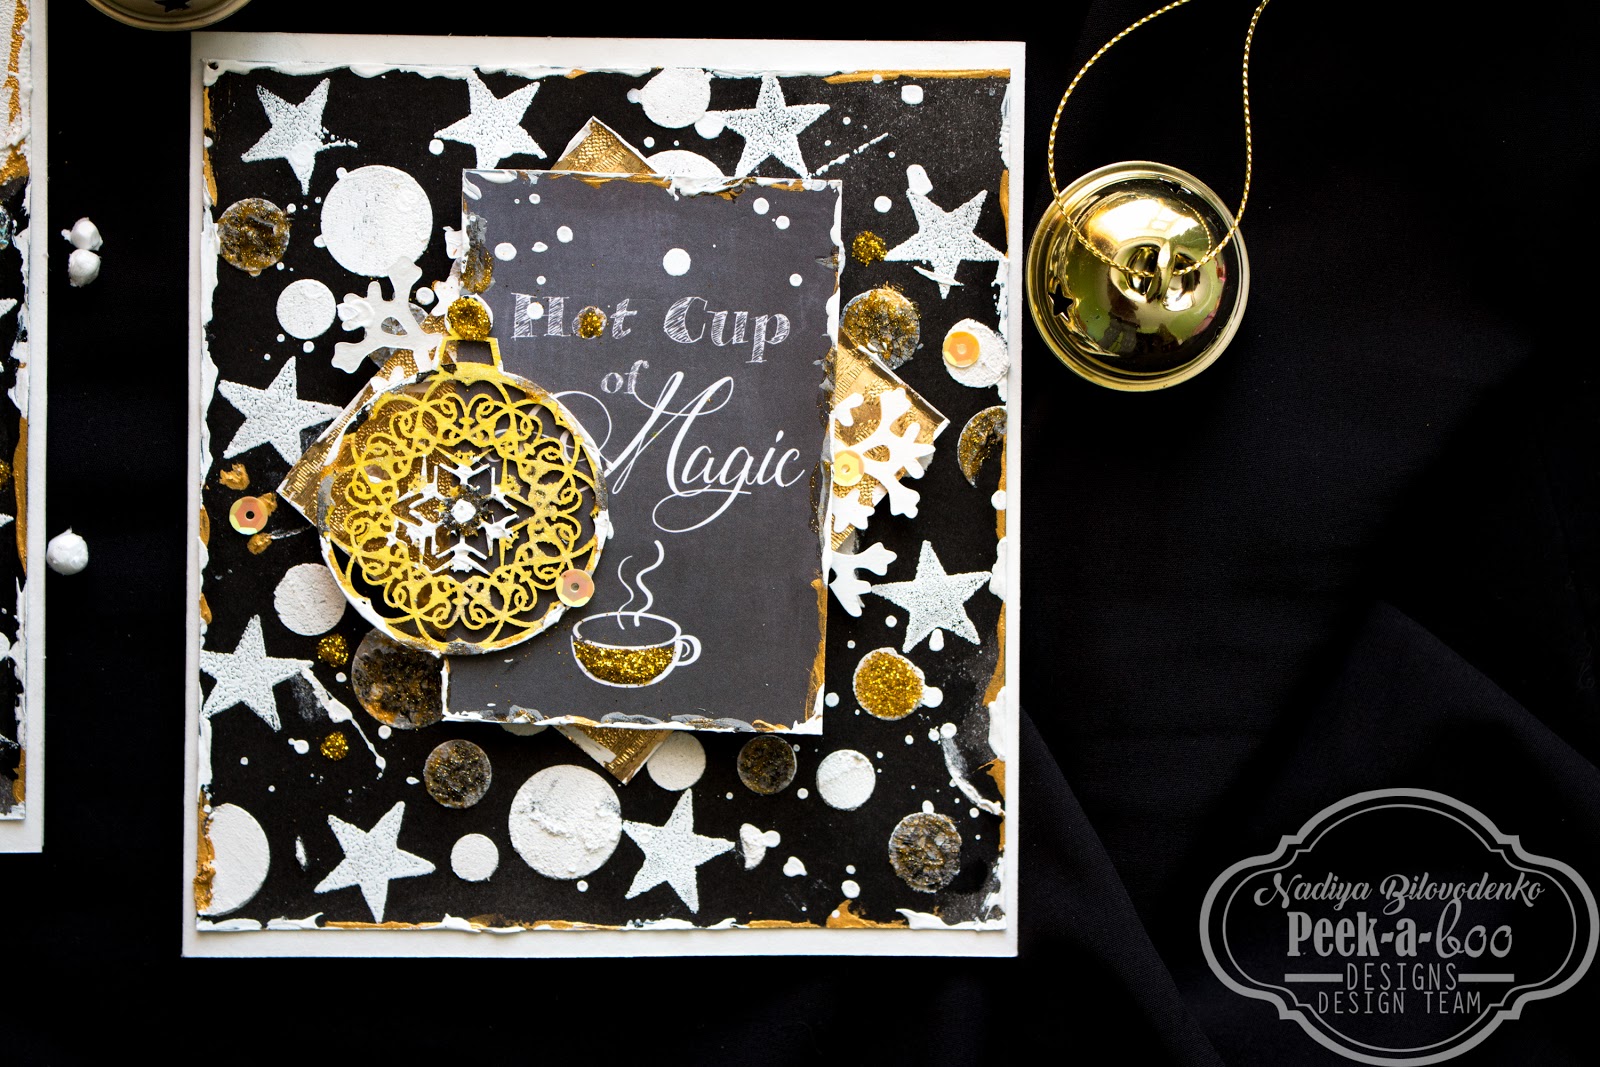
 Even without the Christmas stamps you can do a New Year's card!
  Just do embosing white powder, together with a set of stamps Solid Shapes namely the Star
 And then the whole point of the decor.
 Black background, white embosing with white a structural paste create a holiday.
 Add a drop of golden acrylic and gold glitter, and voila!
 It is snowing, it is the New Year, it miхeh media !!!

 Dimensional
  Bubbles